

Keeping your chrome bathroom fixtures looking brand new really just comes down to consistency. A quick wipe with a soft cloth and some mild soapy water, followed by a good rinse and dry, is usually all it takes to stop stubborn buildup in its tracks. This simple habit is the key to maintaining that brilliant, showroom shine with minimal effort.
Why Your Chrome Fixtures Lose Their Sparkle
Nothing ruins the look of a beautiful bathroom faster than dull, water-spotted chrome. It can make the whole space feel a little less clean and inviting. While it might seem like a tricky problem to solve, that loss of a mirror-like shine usually boils down to a few common issues that a quick wipe-down can't always fix. Knowing what you're up against is the first step to bringing back that brilliant finish.
The biggest enemy of sparkling chrome is hard water. This is a major issue for many households. The U.S. Geological Survey estimates that 85% of U.S. homes have hard water, which speeds up mineral buildup on chrome surfaces. This means you’ll need to clean more regularly, often with something like a simple vinegar and water solution, just to maintain the fixture's original luster and prevent permanent spotting.
The Usual Suspects Behind a Dull Finish
It’s not just water spots, though. Several other things can take the shine off your high-quality brass and stainless steel fixtures.
- Soap Scum: That filmy residue from soaps, shampoos, and body washes builds up over time, creating a cloudy layer that plain water won't touch.
- Mineral Deposits (Limescale): When hard water evaporates, it leaves behind crusty, chalk-like white stains from calcium and magnesium deposits.
- Fingerprints and Oils: The natural oils from your hands easily smudge polished surfaces, which then act like a magnet for dust and grime.
The real goal here isn't just to clean your fixtures, but to preserve them. We're going to skip the harsh chemicals and focus on gentle, consistent methods that protect your investment and keep those premium fixtures looking stunning for years to come. Proactive care is truly the secret to a lasting shine.
Gathering Your Chrome Cleaning Toolkit
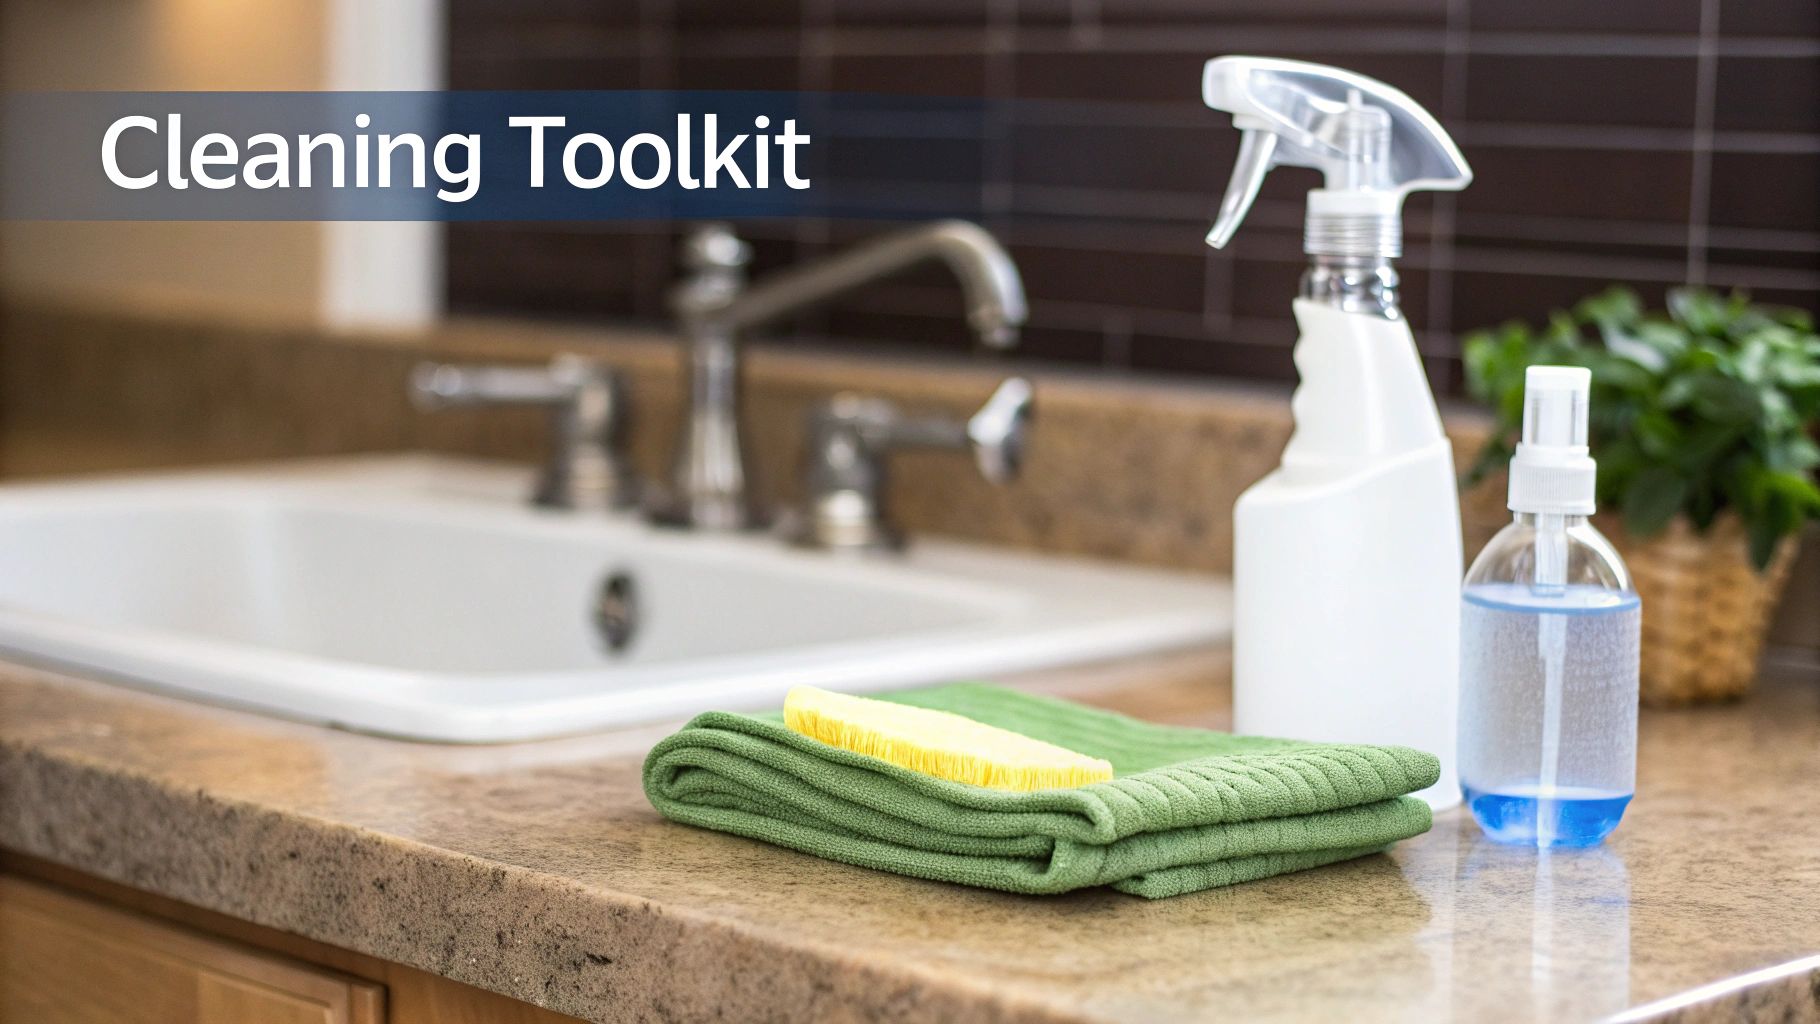
Before you even touch your fixtures, getting your supplies in order is half the battle. Having the right tools on hand not only makes the job faster but is also the single best way to protect that brilliant chrome finish from accidental damage. The good news? You don't need a caddy full of expensive, specialized products. A truly effective toolkit is simple, gentle, and probably already in your cupboards.
Your most important tool, hands down, is a couple of high-quality microfiber cloths. Paper towels leave lint, and old cotton rags can drag grit across the surface, creating tiny scratches. Microfiber is different; its unique structure is designed to grab onto dirt and oils, lifting them away without harming the finish. I always keep at least two handy—one for cleaning and a separate, perfectly dry one for buffing to a streak-free shine.
Your Go-To Cleaning Supplies
With your cloths ready, a few simple items will arm you for everything from daily upkeep to tackling more stubborn spots. This isn't a long shopping list, just a core group of safe and reliable solutions.
- Mild Dish Soap: A few drops of basic, pH-neutral dish soap in warm water is your workhorse for everyday cleaning. It’s gentle but powerful enough to cut through the usual soap scum and grime.
- White Vinegar: This is your secret weapon against hard water spots. A simple 50/50 mix of white vinegar and water in a spray bottle works wonders, as the mild acid gently dissolves those chalky mineral deposits.
- Soft-Bristled Toothbrush: An old toothbrush is perfect for reaching those tricky areas—think the base of the faucet, handle joints, and drain edges—where gunk loves to build up.
- Baking Soda: When you encounter a stain that needs a bit more oomph, a paste of baking soda and water offers just enough gentle abrasion to lift it without scratching the chrome.
My guiding rule is simple: always start with the gentlest method first. Harsh chemicals and abrasive tools are rarely needed and can quickly cause permanent damage, compromising the very finish you're trying to save.
What to Absolutely Avoid
Knowing what not to use is just as crucial as knowing what works. So many common household cleaners are simply too aggressive for chrome plating and can lead to irreversible dulling, pitting, or even stripping the finish right off. Using the wrong product can also be a costly mistake, often voiding the warranty on premium fixtures from brands like GRANDJOY.
To help you protect your investment, I’ve put together a quick-reference table.
Safe vs Harmful Cleaners and Tools for Chrome
This chart breaks down exactly what to reach for and what to leave on the shelf when cleaning your chrome fixtures.
| Category | Recommended for Chrome | Avoid for Chrome |
|---|---|---|
| Cleaning Cloths | Microfiber cloths, soft sponges | Scouring pads, steel wool, abrasive sponges, paper towels |
| Liquid Cleaners | Mild dish soap and water, 50/50 white vinegar and water solution | Bleach-based cleaners, ammonia, abrasive creams, toilet bowl cleaner |
| Powders & Pastes | Baking soda and water paste (for stubborn spots) | Scouring powders, any cleaner with abrasive grit |
| Tools | Soft-bristled toothbrush (for crevices) | Stiff-bristled brushes, wire brushes, razor blades |
Ultimately, treating your chrome with care means sticking to gentle, proven methods. Avoid the temptation to grab a harsh, all-purpose cleaner—it’s just not worth the risk of permanently damaging your beautiful fixtures.
Your Simple Daily and Weekly Cleaning Ritual
Keeping that brilliant, mirror-like shine on your chrome fixtures doesn't mean you're signing up for hours of scrubbing or messing with harsh chemicals. The secret to lasting brilliance is actually a simple, consistent routine that stops buildup before it ever gets a chance to start. By working a couple of quick habits into your day and week, you can keep your faucets and showerheads looking brand new with surprisingly little effort.
The whole approach really boils down to two things: preventing water spots every day and gently wiping away grime once a week. It’s a proactive strategy that protects the delicate chrome plating from the slow-but-steady damage caused by hard water and soap scum. This ensures your high-quality fixtures, like those from GRANDJOY, hold onto their value and stunning look for the long haul.
The 30-Second Daily Wipe-Down
If you take away only one tip, make it this one. The single most effective thing you can do for your chrome is to adopt a simple 'wipe-and-dry' habit after you use it. This is your first line of defense. When water droplets evaporate, they leave behind all those mineral deposits that create cloudy, dull spots. By simply wiping the water away, you stop the problem at its source.
This literally takes less than 30 seconds, but the payoff is huge. After you brush your teeth or finish a shower, just grab a dedicated dry microfiber cloth and give the faucet, handles, and spout a quick pass. This tiny action prevents limescale from ever getting a foothold, which means your bigger weekly clean becomes a much faster, easier job.
"A quick daily wipe is the secret to showroom-quality chrome. It prevents the slow, steady buildup of mineral deposits that eventually dulls even the highest-quality finishes, making deep cleaning far less frequent and intensive."
This habit is a game-changer, especially if you live in an area with hard water where mineral content is high and those spots seem to appear out of nowhere. Once it becomes a reflex, you're essentially keeping your chrome clean every single day without even thinking about it.
Your Gentle Weekly Cleaning Walkthrough
Once a week, set aside just a few minutes for a slightly deeper clean. This is your chance to tackle any soap scum, fingerprints, or general grime that the daily wipe might have missed. The goal here is to be gentle but effective—no aggressive scrubbing needed.
For this weekly ritual, all you need is a bowl of warm water with a few drops of a mild, pH-neutral dish soap. That simple solution is all it takes to dissolve greasy residues without being harsh enough to risk damaging the chrome's protective layer.
The Method for a Flawless Finish
-
Mix your cleaning solution. Add a small amount of mild dish soap to a bowl of warm water. You're looking for a light, sudsy mix. It's best to avoid using hot water, which can sometimes evaporate too quickly and leave streaks behind.
-
Gently wipe everything down. Dip a soft microfiber cloth into the soapy water, wring it out well (it should be damp, not dripping), and gently clean the entire fixture. I always pay a little extra attention to the base of the faucet, the area behind the spout, and around the handle joints, as that's where grime loves to hide.
-
Rinse it all off. This step is critical, so don't skip it. Grab a second, clean cloth, dampen it with plain warm water, and wipe away every trace of soap residue. If you leave any soap film behind, it'll dry to a dull haze and undo all your hard work.
-
Buff it completely dry. And now for the final, most important step. Take a separate, clean, and totally dry microfiber cloth and buff the fixture until it shines. This removes every last water droplet, prevents new spots from forming, and is what truly brings out that brilliant, streak-free gleam.
Following this straightforward process is the foundation of properly caring for your chrome. It’s a gentle yet powerful routine that will preserve the integrity of the finish for years.
How to Remove Stubborn Hard Water Stains
If you've been keeping up with daily wipe-downs and weekly washes, you're already winning the battle for shiny chrome. But the real test, especially in certain parts of the country, is tackling hard water stains.
Hard water is loaded with minerals like calcium and magnesium. When water evaporates from your faucet or showerhead, it leaves these minerals behind, creating a chalky, cloudy film we all know as limescale. It’s a stubborn buildup that can make even the cleanest fixtures look dull and neglected.
The good news? You don't need to reach for harsh chemicals to get rid of it. A simple, mild acid is usually all it takes to dissolve those mineral deposits and bring back the shine. The trick is to be effective enough to break down the scale without being so aggressive that you damage the chrome plating itself.
Using a Vinegar Solution for Limescale
One of the most effective and wallet-friendly weapons in your cleaning arsenal is probably already in your pantry: plain white vinegar. Its natural acidity is perfect for cutting right through the alkaline mineral deposits that form limescale.
To get started, just mix equal parts of plain white vinegar and warm water in a spray bottle. This 50/50 ratio has just the right amount of kick to dissolve stains while still being gentle on your chrome.
Spray the solution generously all over the fixture. Make sure you get into all the nooks and crannies where buildup loves to hide—the base of the faucet, around the handles, and on the aerator tip are common problem spots. Now, walk away. Let the solution sit and work its magic for at least 10-15 minutes. This dwell time is key; it gives the vinegar the time it needs to break down those mineral bonds.
Once it's had time to soak, grab a soft-bristled toothbrush and give any stubborn areas a gentle scrub. A toothbrush is perfect for getting into tight grooves without scratching the surface. After a light scrub, it’s time to rinse.
Don't skip the rinse! Rinsing thoroughly with clean water is absolutely critical. If you leave any vinegar solution behind, the acid can continue to eat away at the chrome, potentially causing permanent etching or damage over time.
To finish, buff the entire fixture with a clean, dry microfiber cloth. This last step removes any lingering moisture, prevents new water spots from forming, and restores that brilliant, like-new shine.
This decision tree helps visualize when to use daily wipes versus a more intensive weekly wash.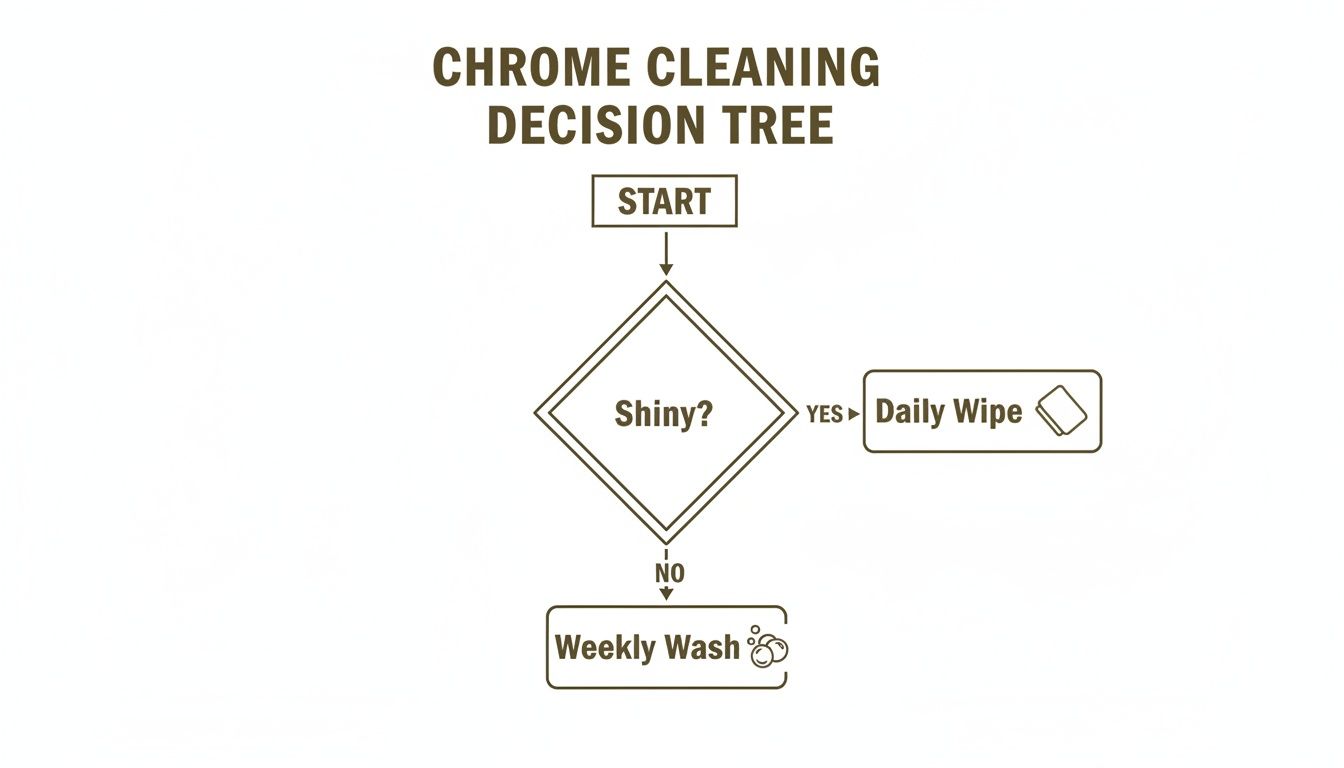 The visual guide reinforces that a daily wipe is sufficient for already shiny fixtures, while a more thorough weekly wash is needed to restore brilliance when they are not.
A Natural Alternative with Lemon Juice
No vinegar on hand? No problem. Fresh lemon juice is another fantastic, all-natural solution. The citric acid in lemon is a powerhouse against limescale and leaves behind a great, fresh scent. You have a few options for how to use it:
- Direct Application: The simplest way is to just cut a lemon in half and rub it directly onto the stained areas.
- Juice Solution: You can also squeeze the juice into a small bowl, dip a microfiber cloth into it, and wipe down the fixture.
- Soaking Method: For really heavy buildup on something like a showerhead, soak a cloth in lemon juice, wrap it tightly around the part, and let it sit for an hour or so.
As with the vinegar method, let the lemon juice sit for about 10-15 minutes (unless you're doing a longer soak). Follow up with a gentle scrub, a complete rinse with clean water, and a final buff with a dry microfiber cloth. Your chrome will be sparkling, and your bathroom will smell amazing.
Advanced Techniques for Rust and Tough Stains
Even with the best daily care, you might eventually spot a stubborn stain or a dreaded pinprick of rust that soap and water just won't touch. Don't panic—it doesn’t mean your beautiful fixture is ruined. It just means it's time to bring out some slightly more specialized, but still gentle, cleaning methods.
You might be surprised to learn that one of the best tools for tackling light surface rust is probably sitting in your kitchen drawer right now: aluminum foil. It sounds odd, but it works thanks to a neat little chemical reaction. Rubbing aluminum against rust (iron oxide) with a bit of water creates a small electrochemical process that lifts the oxidation right off the chrome.
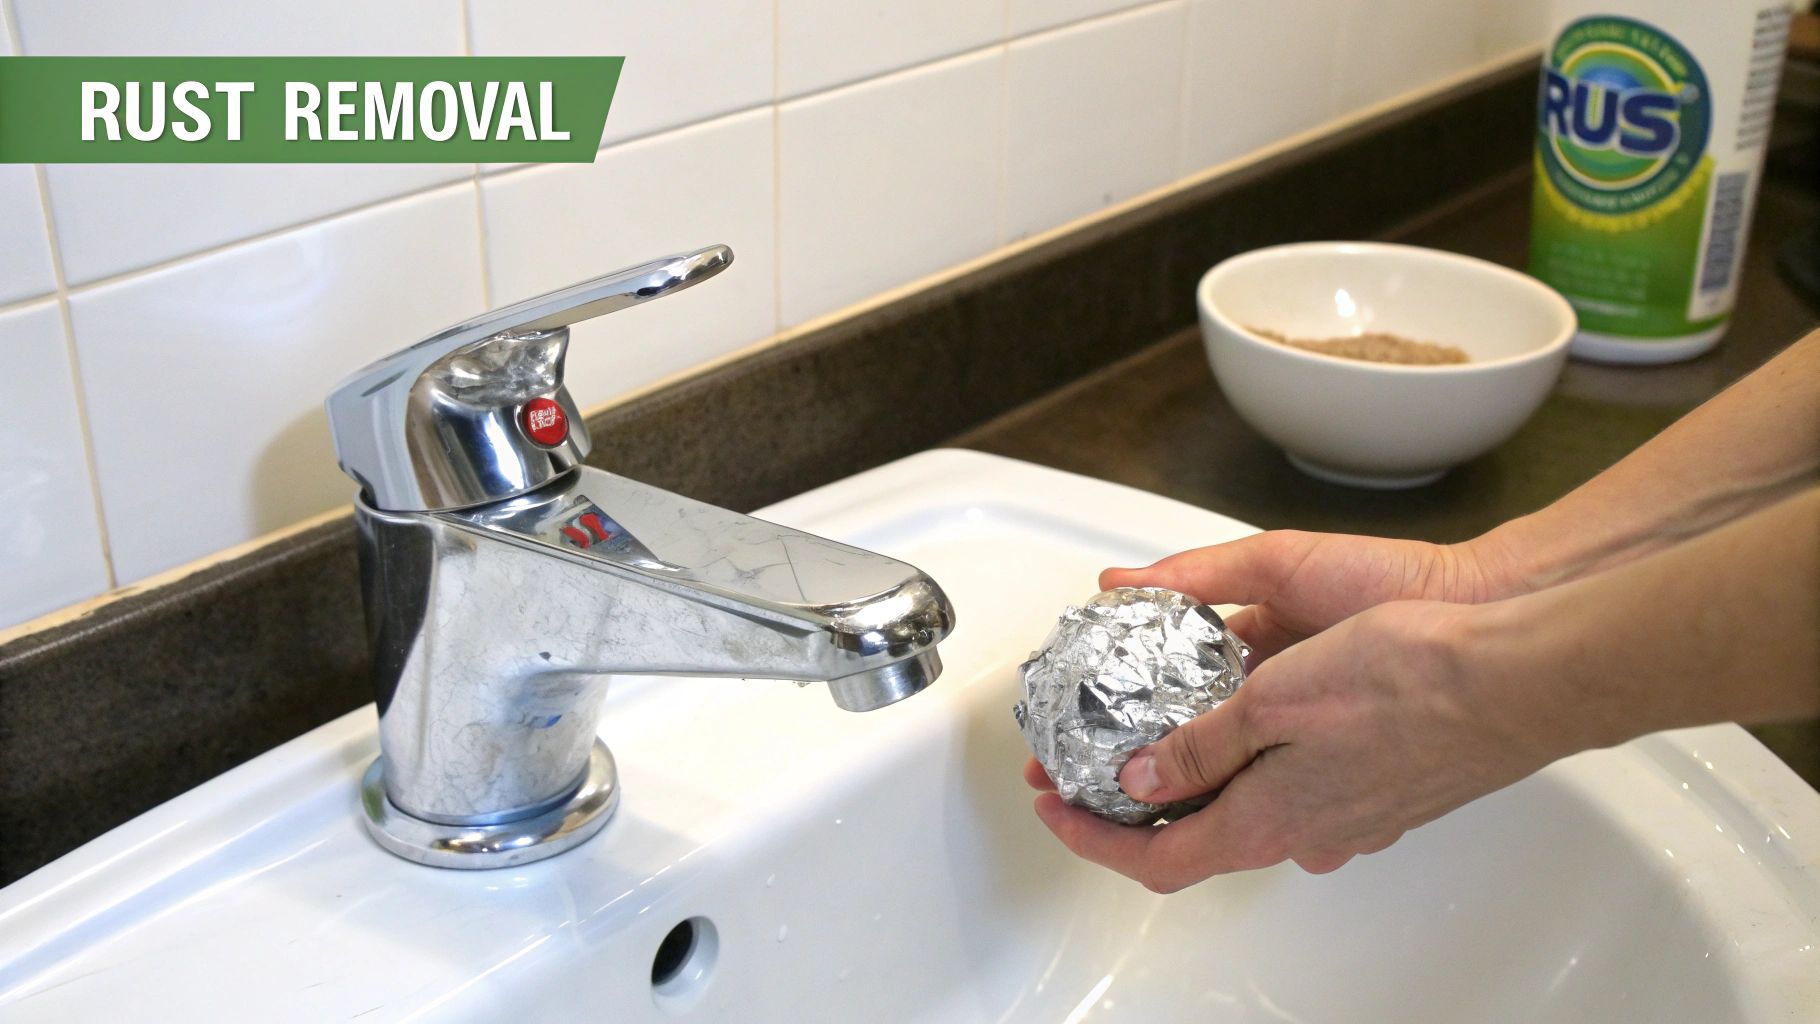
The best part is how gentle this process is. Aluminum is a softer metal than chrome, so it can dislodge the rust without scratching the finish underneath. It's an incredibly effective, low-cost fix that can stop small rust spots from becoming a much bigger headache down the road.
The Aluminum Foil Method for Light Rust
Ready to give it a try? Grab a small piece of aluminum foil and crumple it into a loose ball, about the size of a golf ball. Dip the foil into some plain water to get it wet. For a little extra oomph, you can even use cola—the mild phosphoric acid in it helps dissolve rust even faster.
Now, gently rub the wet foil ball over the rust spots. Use light pressure and a small circular motion. You should see the rust begin to disappear almost instantly. Keep the foil damp while you work and wipe the area with a clean cloth every so often to see how it's going.
Once the rust is gone, give the fixture a good rinse with clean water and buff it completely dry with a fresh microfiber cloth. That shine will be back in no time.
Creating a Paste for Stubborn Stains
What about those other tough spots, like discoloration from a dried-on soap blob or some other mystery mark? For non-rust stains, a simple baking soda paste is your best friend. Baking soda is a fantastic mild abrasive, giving you just enough scrubbing power to lift the stain without harming the chrome.
Here’s my go-to recipe for this gentle but powerful stain remover:
- Mix the Paste: In a small bowl, combine about two parts baking soda with one part water. You're aiming for a thick, smooth paste—think toothpaste consistency.
- Apply and Wait: Dab the paste directly onto the stain with your finger or a soft cloth. Make sure it's completely covered, then just let it sit for 10-15 minutes. Let the baking soda do the work for you.
- Gently Buff: After it's had a chance to sit, take a damp microfiber cloth and gently buff the spot in a circular motion. The paste and the cloth will work together to lift the grime.
- Rinse and Dry: Once the stain has vanished, rinse the entire fixture with warm water to wash away any leftover paste. The final, crucial step is to buff it completely dry with a clean cloth to prevent new water spots.
These targeted treatments are your secret weapons for keeping fixtures looking brand new. The golden rule is to always start gently and work only on the affected areas. This ensures the rest of your beautiful chrome stays flawless.
Protecting Your Investment with Proactive Care
Once you've mastered the art of cleaning and stain removal, the real secret to keeping your chrome fixtures looking brand new for years is shifting your mindset. It's less about reacting to problems and more about preventing them in the first place. This proactive approach is what truly safeguards the beauty and longevity of your investment.
High-end fixtures are built to last, but how long they actually last is heavily dependent on their care. Before you do anything else, the single most important step is to read the manufacturer's care guide. Using the wrong chemical or a harsh scrub pad can do a lot more than just dull the shine—it can permanently etch the protective chrome plating and often void your warranty. For premium brands like GRANDJOY, sticking to their guidelines is the best insurance policy for your purchase.
Address Leaks Immediately
That slow, rhythmic drip, drip, drip might just seem like a minor annoyance, but for your chrome's finish, it's a constant threat. Every single drop of water that sits on the surface eventually evaporates, leaving behind a tiny ring of mineral deposits. Over time, this creates a concentrated, stubborn patch of limescale that becomes a nightmare to remove.
Think of a persistent drip as a tiny hammer, constantly depositing minerals onto the exact same spot. Tackling leaks the moment you notice them is the most effective way to stop those tough, built-up stains before they ever get a chance to form.
Fixing a leaky faucet or showerhead is a win-win. You'll conserve water and, just as importantly, you'll prevent the kind of cumulative damage that forces you to use harsh, aggressive cleaning methods later on. It’s a small action that pays off in a big way.
Consider a Water Softener for Hard Water
Do you feel like you're in a constant battle with cloudy water spots and that chalky white film, no matter how often you clean? The real culprit is probably hard water. A staggering 85% of homes in the U.S. have hard water, which is loaded with minerals like calcium and magnesium. While a vinegar solution is a great quick fix, the best long-term strategy is to treat the water at its source.
Installing a whole-house water softener can be a total game-changer for your home maintenance routine. By filtering out these minerals before they ever reach your tap, a softener offers some serious benefits for your chrome:
- No More Limescale: Softened water doesn't leave behind those hard mineral deposits, meaning no more spotting and cloudiness.
- Drastically Reduced Cleaning: You'll discover that a quick wipe is usually all it takes to keep fixtures gleaming, cutting down the need for deep cleaning sessions.
- Long-Term Finish Protection: By eliminating the need for acidic cleaners to dissolve scale, you minimize the risk of accidentally damaging the chrome over time.
This is a step that goes far beyond simple cleaning. It creates an environment where your chrome fixtures can stay brilliant with very little effort, protecting your investment and ensuring they remain a stunning focal point in your bathroom for years to come.
Your Top Chrome Cleaning Questions, Answered
Even with a solid game plan, you're bound to run into questions when trying to keep your bathroom fixtures looking brand new. Getting the details right is key, especially when you've invested in high-quality chrome. Let's tackle some of the most common questions I hear from homeowners.
Can I Just Use My Regular All-Purpose Bathroom Cleaner?
That's a risky move. The short answer is, it really depends on what's in the bottle. Many of those go-to bathroom sprays are loaded with harsh chemicals like bleach or ammonia that are simply too aggressive for a plated chrome finish.
Think of it this way: chrome has a delicate top layer. Those strong chemicals can eat away at it over time, leaving you with a cloudy, pitted, or even peeling fixture.
Your safest bet is to stick with pH-neutral cleaners. For everyday grime, you can't beat a little mild dish soap in warm water. When you're dealing with hard water spots, a 50/50 mix of white vinegar and water is the perfect tool for the job. Before you ever spray a commercial product, read the label carefully to make sure it's explicitly marked as safe for chrome.
Here's a good rule of thumb I always share: if you wouldn't feel safe using it on your car's paint, don't use it on your chrome fixtures. Both rely on a protective clear coat that's easily damaged.
How Can I Stop Water Spots from Showing Up in the First Place?
The best method is also the easiest. Keep a dedicated microfiber cloth hanging in your bathroom and give your faucet and handles a quick wipe-down after you use them.
This simple, 30-second habit prevents water from sitting and evaporating, which is what leaves those frustrating mineral deposits behind. It sounds almost too simple, but it makes a massive difference and cuts way down on how often you'll need to do a deep clean.
Why Does My Chrome Still Look Cloudy After I've Cleaned It?
If you've cleaned your chrome but it still has a dull, hazy look, you're likely dealing with one of two culprits. It's either a stubborn film of soap scum that didn't fully wash away, or it's a thin layer of hard water minerals that soap and water alone can't touch.
This is where your 50/50 white vinegar and water solution comes to the rescue. Give the fixture a good spray, but don't wipe it off right away. Let it sit for about 15 minutes to give the acetic acid time to work its magic and dissolve that mineral film.
After it has soaked, gently wipe it down, give it a thorough rinse with plain water, and then buff it completely dry with a clean microfiber cloth. That mild acidity is fantastic for cutting through the film that causes that cloudy appearance, bringing back that brilliant, mirror-like shine.
For fixtures that blend timeless elegance with rugged durability, take a look at the collections from GRANDJOY. Our premium brass and stainless steel products are engineered to hold their brilliant finish for years with the right care, helping you keep your bathroom a true sanctuary. Find the perfect fixture for your home.


Leave a comment
This site is protected by hCaptcha and the hCaptcha Privacy Policy and Terms of Service apply.