

Adding a shower to a half bath is one of the smartest ways to boost your home's functionality and, ultimately, its market value. You're taking a space that's often just a convenience and turning it into a full-fledged bathroom. This isn't just about adding a fixture; it's a strategic upgrade that can provide a private space for guests, accommodate a growing family, or even set you up for aging in place.
Why Converting Your Half Bath Is a Smart Upgrade
Turning a powder room into a full bathroom is more than just a weekend project—it's a serious investment in your home's future. This conversion takes a room with limited use and transforms it into a highly functional asset. Think about it: you can instantly solve the morning rush for the shower and add a layer of convenience that potential homebuyers absolutely love.
The idea of adding a shower to a half bath has really taken off as homeowners try to make the most of every square foot. Suddenly, you have a dedicated bathroom for overnight guests, giving them real privacy and comfort. For families with kids, that second full bath is a lifesaver for simplifying hectic daily routines. It's also a forward-thinking move for anyone planning to stay in their home long-term, as a full bath on the ground floor is a huge plus for accessibility down the road.
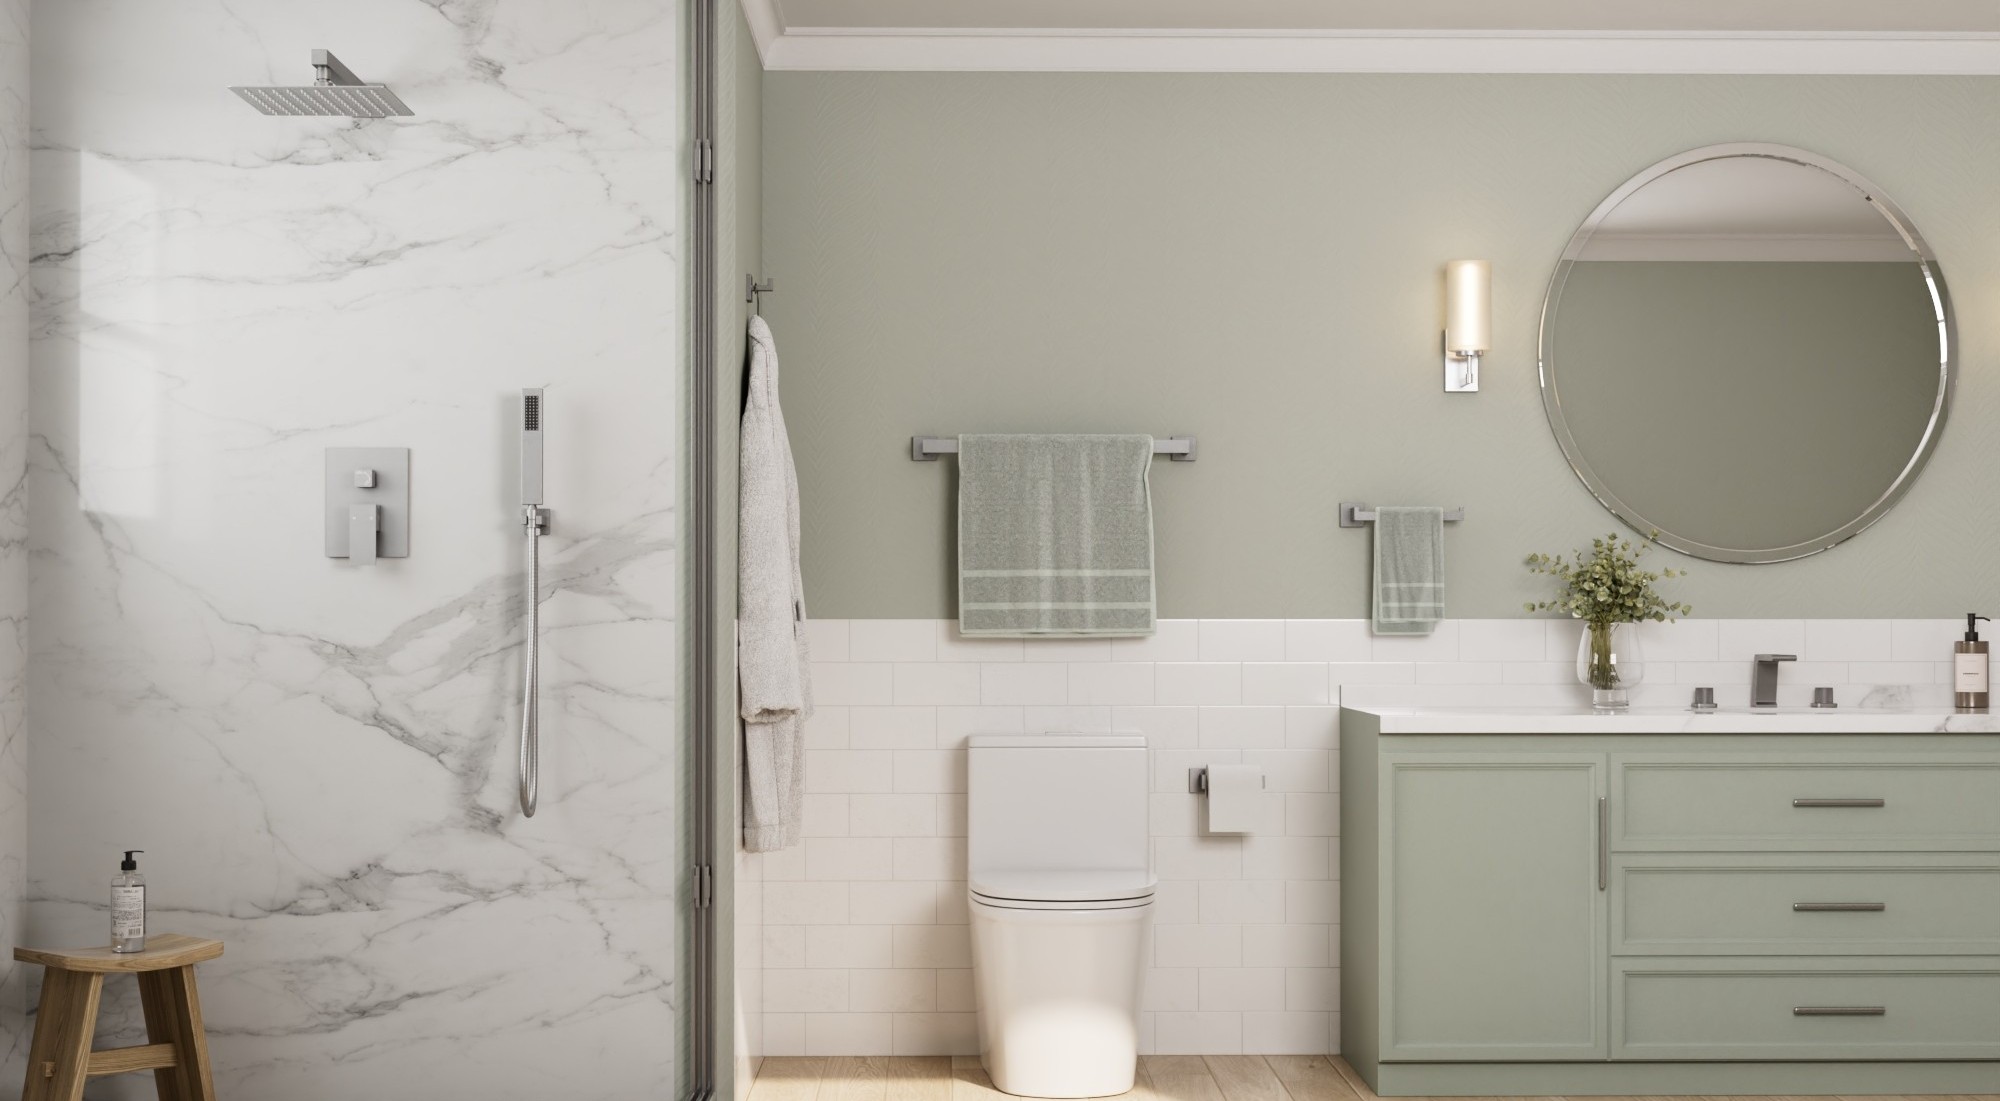
Financial and Lifestyle Benefits
The return you get on this project is pretty compelling. Moving from a half to a full bath can give your property value a significant bump. Bathroom remodeling is a high-return home improvement project, but the most important numbers are the ones that affect your home directly. For instance, data suggests that adding a full bathroom can increase a home's value significantly. You can find more bathroom marketing statistics that back this up.
But it’s not just about the money. The day-to-day improvements are what you'll notice right away.
- Better for Guests: A private, full bathroom for visitors makes hosting feel much more comfortable and accommodating.
- Smoother Mornings: A second shower can completely eliminate the morning traffic jam and make getting ready less stressful for everyone.
- Future-Ready Home: A ground-floor shower is a game-changer for long-term accessibility, making your home viable for years to come.
This is one of those rare renovations that adds real, tangible convenience to your daily life while also delivering a strong financial return. You're solving a practical problem and making your home more appealing to buyers at the same time.
To help you weigh the pros and cons, here's a quick look at the key aspects of this project.
Half Bath to Full Bath Quick Assessment
| Key Aspect | Benefit or Consideration |
|---|---|
| Space | Most half baths are tight. You'll need at least 30-36 square inches for a shower stall. |
| Plumbing | New hot/cold water lines and a larger drainpipe (typically 2-inch) are required. |
| Cost | Averages $5,000 to $15,000, but can go higher depending on finishes and labor. |
| Property Value | Can increase home value and makes the home much more marketable. |
| Functionality | Adds a second full bathroom, easing family congestion and improving guest accommodations. |
| Permits | Building permits are almost always required due to plumbing and structural changes. |
Ultimately, this assessment shows that while there are real technical challenges to consider, the payoff in both lifestyle and home equity is substantial.
A Worthwhile and Attainable Project
While this project definitely requires careful planning—you'll be dealing with plumbing, layout constraints, and ventilation—it's a very achievable goal for many homeowners. By choosing high-quality, certified fixtures, like those from GRANDJOY, you can ensure your new bathroom isn't just beautiful but also durable and up to code. This guide will walk you through all the essentials, from sketching out your first design ideas to adding the final touches, helping you turn that overlooked powder room into one of your home’s most valuable spaces.
Designing a Functional Layout for a Small Space
Before you even think about swinging a sledgehammer, your most important tool is a good plan. The entire success of cramming a shower into a half bath comes down to smart design, especially when you're fighting for every last inch. This is the part where you figure out how to turn a tiny powder room into a full bathroom that actually works.
First things first: measure everything. And I mean everything. Get your tape measure and write down the room's exact length, width, and ceiling height. You'll also need to pinpoint the exact locations of the toilet and sink, the doorway, any windows, and every single electrical outlet and switch. Think of this detailed sketch as the blueprint for your whole project.
Maximizing Every Square Inch
With those measurements in hand, you're ready to tackle the main puzzle: how to fit a shower in there. Half baths are famously small, so a standard-sized shower is often out of the question. This is where you have to get a little creative and look at shower configurations designed to feel comfortable, not claustrophobic.
Here are a few go-to options for tight spots:
- Corner Showers: These are brilliant because they tuck into a corner, using space that would otherwise be wasted. Their curved or angled doors give you a surprising amount of room inside without jutting out too far into the bathroom.
- Neo-Angle Showers: Think of this as a clever cousin to the corner shower. A neo-angle base is a five-sided diamond shape. That little corner cutaway gives you more precious floor space to move around.
- Compact Walk-In Designs: A small, doorless walk-in shower, sometimes with just a single glass panel, can make the whole room feel bigger and more open. A comfortable minimum size for any shower is 36x36 inches, but it's worth checking your local codes—some will permit a stall as small as 30x30 inches.
The goal isn't just to fit a shower in. It's to create a layout that flows. You have to leave enough clearance around every fixture so the room is actually usable and up to code.
Arranging Fixtures for Function and Flow
How you place the fixtures is what separates a functional bathroom from an awkward, cramped mess. Building codes are pretty specific about this for safety and accessibility. While it can vary, a solid rule of thumb is to leave at least 21 inches of clear space in front of your toilet and sink.
Let’s walk through a real-world scenario. Say you have a half bath that’s a long, skinny rectangle. A good approach would be to put a compact 32x32 inch corner shower at the far end. Then, you could place the toilet next to it, and put the vanity sink closest to the door. This layout creates a natural path through the room where nothing is blocking anything else.
Now, what if your room is more of a square? You could line up the toilet and a small vanity along one wall, dedicating the entire opposite wall to a slim walk-in shower. This creates clear "zones" in the room, making the small space feel more organized. As you choose your fixtures, a sleek, wall-mounted GRANDJOY shower system is a great way to get a high-end feel without a bulky footprint, perfectly blending style with space-saving efficiency.
Creating the Illusion of Space
Once you’ve locked in the functional layout, you can lean on some classic design tricks to make the room feel much larger than its actual dimensions. The right materials and lighting can completely change how a space is perceived.
Try working some of these strategies into your design:
- Large-Format Tiles: When you use bigger tiles on the floor and shower walls, you end up with fewer grout lines. That creates a cleaner, more continuous surface that tricks the eye into seeing a more expansive area.
- Glass Enclosures: In a small bathroom, a frameless glass shower door or panel is your best friend. It lets light flow freely and gives you an unobstructed view of the whole room, which keeps the shower from visually chopping the space in half like a curtain would.
- Strategic Lighting: Good lighting is absolutely critical. You'll want a mix of overhead lighting, a bright light over the vanity mirror, and a proper wet-rated light right inside the shower. This combination banishes shadows and makes the room feel bright and open.
- Consistent Color Palette: Stick to a light, cohesive color scheme for your walls, tiles, and fixtures. This helps unify the space. Bright whites, soft grays, and light beiges are all fantastic choices for making a small room feel airy and spacious.
By planning your layout with care and making smart design choices, you can absolutely add a shower to a half bath without it feeling like a sardine can. What you'll end up with is a hugely valuable and functional new bathroom that feels like it was always meant to be there.
Getting Into the Nitty-Gritty: Plumbing and Structural Work
Once you’ve settled on a layout, it's time to roll up your sleeves and get into the real heart of the project: the plumbing and structural changes. This is where a successful bathroom conversion is truly made or broken. Getting these foundational elements right isn’t just important—it’s everything. Mistakes here can lead to leaks, water damage, and repairs that cost far more than doing it right the first time.
Tackling the water supply is usually the first step. The good news is that your half bath already has hot and cold water lines for the sink. A skilled plumber can often tap directly into these lines to run new ones for your shower valve. It’s typically more straightforward than people imagine, but it requires a professional touch to ensure the connections are solid and you don't end up with a frustrating drop in water pressure.
The Make-or-Break Detail: The Shower Drain
While hooking up the water supply is one thing, installing the new shower drain is a whole different ballgame. This is easily the most complex plumbing task you'll face. Your sink’s drain, which is usually only 1.5 inches wide, is simply not big enough to handle the water flow from a shower. Codes are strict on this: you need a 2-inch drain pipe to keep water from pooling at your feet.
This isn't a simple swap. It means a plumber has to run a completely new, larger drain line from the shower's location all the way to your home's main waste stack.
- Slope is Everything: That new drainpipe needs a consistent downward slope of at least 1/4 inch for every foot of pipe. This is non-negotiable. Gravity is what pulls water and soap away, and without the right slope, you’re setting yourself up for clogs and nasty odors down the line.
- Don't Forget the Vent: A proper drain also needs a vent pipe that ties into your home's existing vent system. This simple pipe is crucial—it lets air into the drain line to equalize pressure. Without it, a vacuum effect can suck the water right out of the P-trap, allowing sewer gas to seep into your beautiful new bathroom.
From my experience, the drain is where DIY projects most often go wrong. People underestimate the precision needed for slope and venting. A mistake here isn't obvious until after the tile is down, and fixing it means tearing everything out.
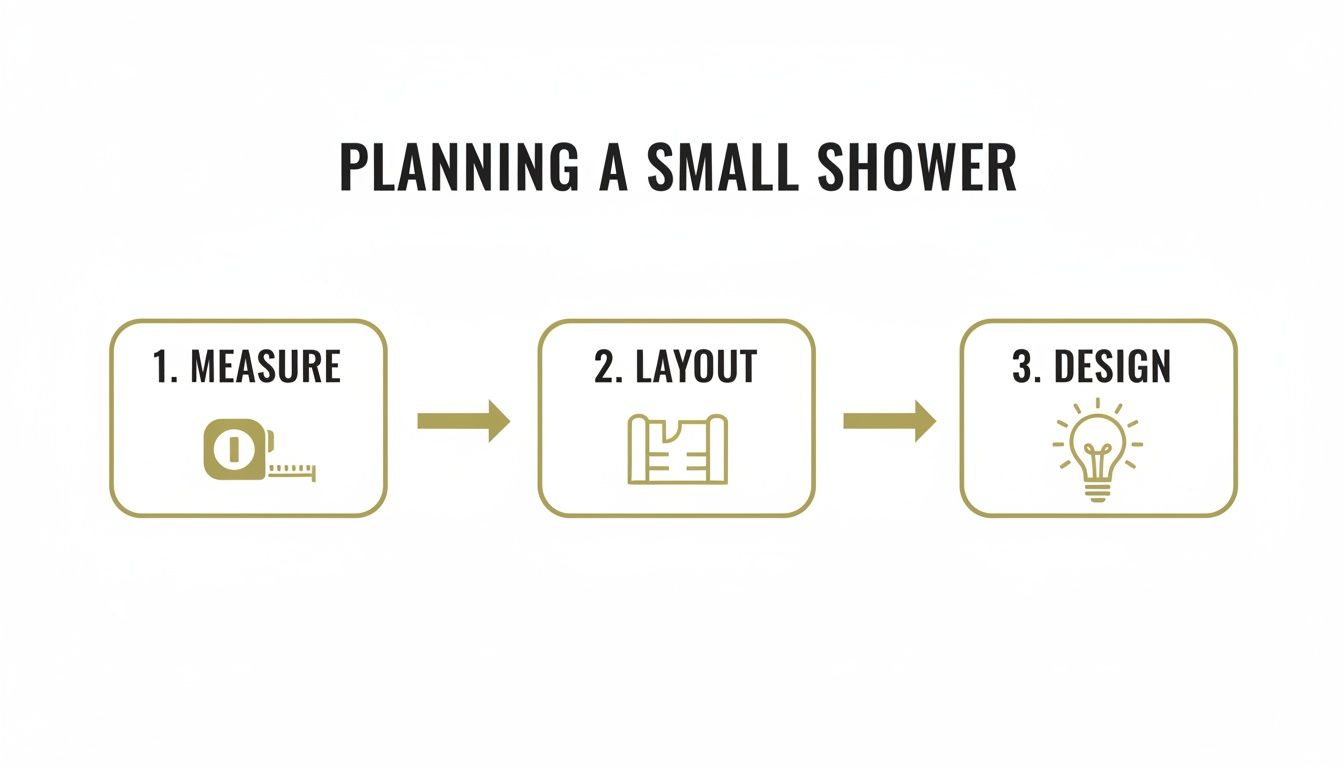
This chart really drives home how critical the planning phase is. Thinking through these technical details before you start swinging a hammer is the key to a smooth project.
Beefing Up the Floor for the Extra Weight
Plumbing isn't the only hidden challenge. A new shower adds a surprising amount of weight to your floor. Think about it: a heavy shower pan, layers of mortar and tile, thick glass doors, and of course, the water itself. Your floor joists, which were only meant to support a toilet and sink, might not be up to the task.
It's a smart move to have a contractor take a look at your floor framing. If the joists are undersized or too far apart, they'll need to be reinforced. The most common way to do this is by "sistering" them—bolting new joists alongside the old ones. This simple step adds serious strength, preventing the floor from sagging and your new tile from cracking under the load.
Waterproofing: Your Last Line of Defense
If there's one area you absolutely cannot cut corners, it's waterproofing. I can't stress this enough. Even the tiniest pinhole leak can let water seep into your walls and subfloor, leading to a nightmare of mold, mildew, and rotten wood.
A modern, bulletproof shower is built with a system of layers:
- The Right Foundation: You can’t use standard drywall. You need to start with a moisture-resistant material like a cement backer board or a specialized foam board.
- The Waterproof Barrier: Over that board, a waterproofing membrane is applied. This can be a paint-on liquid or a fabric-like sheet. It creates a seamless, bathtub-like liner behind your tile that channels every drop of water toward the drain.
- Sealing Every Weak Point: Finally, every seam, corner, and screw head is sealed with waterproof tape and sealant. This ensures the entire shower stall is a single, monolithic waterproof box.
This meticulous process is why using high-quality, cUPC-certified fixtures is so important. That certification guarantees the fixture itself won't fail, but it needs to be installed in a perfectly waterproofed shell to protect your home for decades to come.
Adding a full bathroom is a smart investment, tapping into a huge remodeling trend. With U.S. homeowners projected to spend a staggering amount on renovations in 2025, bathrooms are a top priority. This project perfectly aligns with the growing desire for spa-like bathrooms and planning for aging-in-place. As professional remodels rise, the focus on doing things right—with code-compliant, certified fixtures like those from GRANDJOY—has never been more critical.
Managing Moisture and Lighting in Your New Bathroom
Adding a shower to what was once a simple powder room completely transforms the space. The biggest new challenge? Moisture. A lot of it. All that steam and humidity needs a place to go, and if you don't have a solid plan, you're practically rolling out the welcome mat for mold, mildew, and even long-term structural damage. Proper ventilation isn't an optional upgrade; it's absolutely essential for a bathroom conversion that will stand the test of time.
Your number one defense against moisture is a quality exhaust fan. I'm not talking about a noisy, ineffective little box. You need a fan with enough power to physically pull all that humid, heavy air out of the room and send it outside where it belongs. Skipping this or cheaping out is a recipe for disaster—think peeling paint, warped trim, and a never-ending fight against grime in your grout lines.
Choosing the Right Exhaust Fan
When you start looking at fans, the most important number you'll see is the CFM rating, which stands for Cubic Feet per Minute. This tells you exactly how much air the fan can move. It's a bit of a Goldilocks situation: a fan that's too weak won't do the job, while one that's way too powerful is just noisy and wasteful.
A good rule of thumb is to have at least 1 CFM for every square foot of floor space.
- Here's a quick example: If your bathroom is 6 feet by 8 feet, you have 48 square feet of space. That means you'll want an exhaust fan rated for at least 50 CFM, as it's best to round up to the nearest standard size.
Just a heads-up: if your ceilings are higher than the standard 8 feet, you'll want to get a slightly more powerful fan to account for the extra air volume. It’s a small adjustment that really pays off in performance.
One thing I can't stress enough: the exhaust fan must vent directly to the outside of your house. Never, ever terminate the vent line in an attic, crawlspace, or between floor joists. All you're doing is relocating the moisture problem, creating the perfect conditions for hidden mold and rot.
Lighting Your New Shower Safely
Once you've handled the air, it's time to think about light. Mixing water and electricity requires some careful planning and the right kind of fixtures to keep everyone safe. Good lighting isn't just about seeing what you're doing; it also makes a small space feel bigger and more welcoming.
Any light fixture you install inside the shower stall or directly over the tub area has to be wet-rated. This is non-negotiable. These fixtures are built and sealed to keep water completely away from the wiring, which is critical for preventing short circuits or electrical shock.
For the rest of the bathroom, you can typically use damp-rated fixtures. These are designed to handle condensation and high humidity but not a direct spray of water. I'm a big fan of layering the lighting in a small bathroom to make it feel more functional and open.
- Overhead Lighting: A central fixture on the ceiling gives you good general light.
- Vanity Lighting: Sconces on either side of the mirror or a light bar above it are perfect for task lighting—no more weird shadows when you're getting ready.
- Shower Lighting: A dedicated, wet-rated recessed light inside the shower itself is a game-changer. It makes the space feel safer and less like a dark little cave.
This layered approach ensures every corner of the room is properly lit, making it feel brighter and far more spacious. When you're going through the effort of adding a shower to a half bath, paying attention to details like ventilation and lighting is what separates a basic conversion from a truly beautiful and functional upgrade to your home.
Picking the Right Shower System and Fixtures
Alright, you’ve navigated the tough stuff—layout, plumbing, and ventilation. Now comes the best part: choosing the hardware that will really define your new shower's look and feel. These fixtures aren't just functional; they're the elements you'll interact with every day, and they pull the whole design together.
This is where you get to infuse your personal style into the project. Are you aiming for a minimalist, spa-like escape or something more practical and family-friendly? The right shower system makes all the difference, balancing beautiful design with the kind of performance you can rely on for years to come.
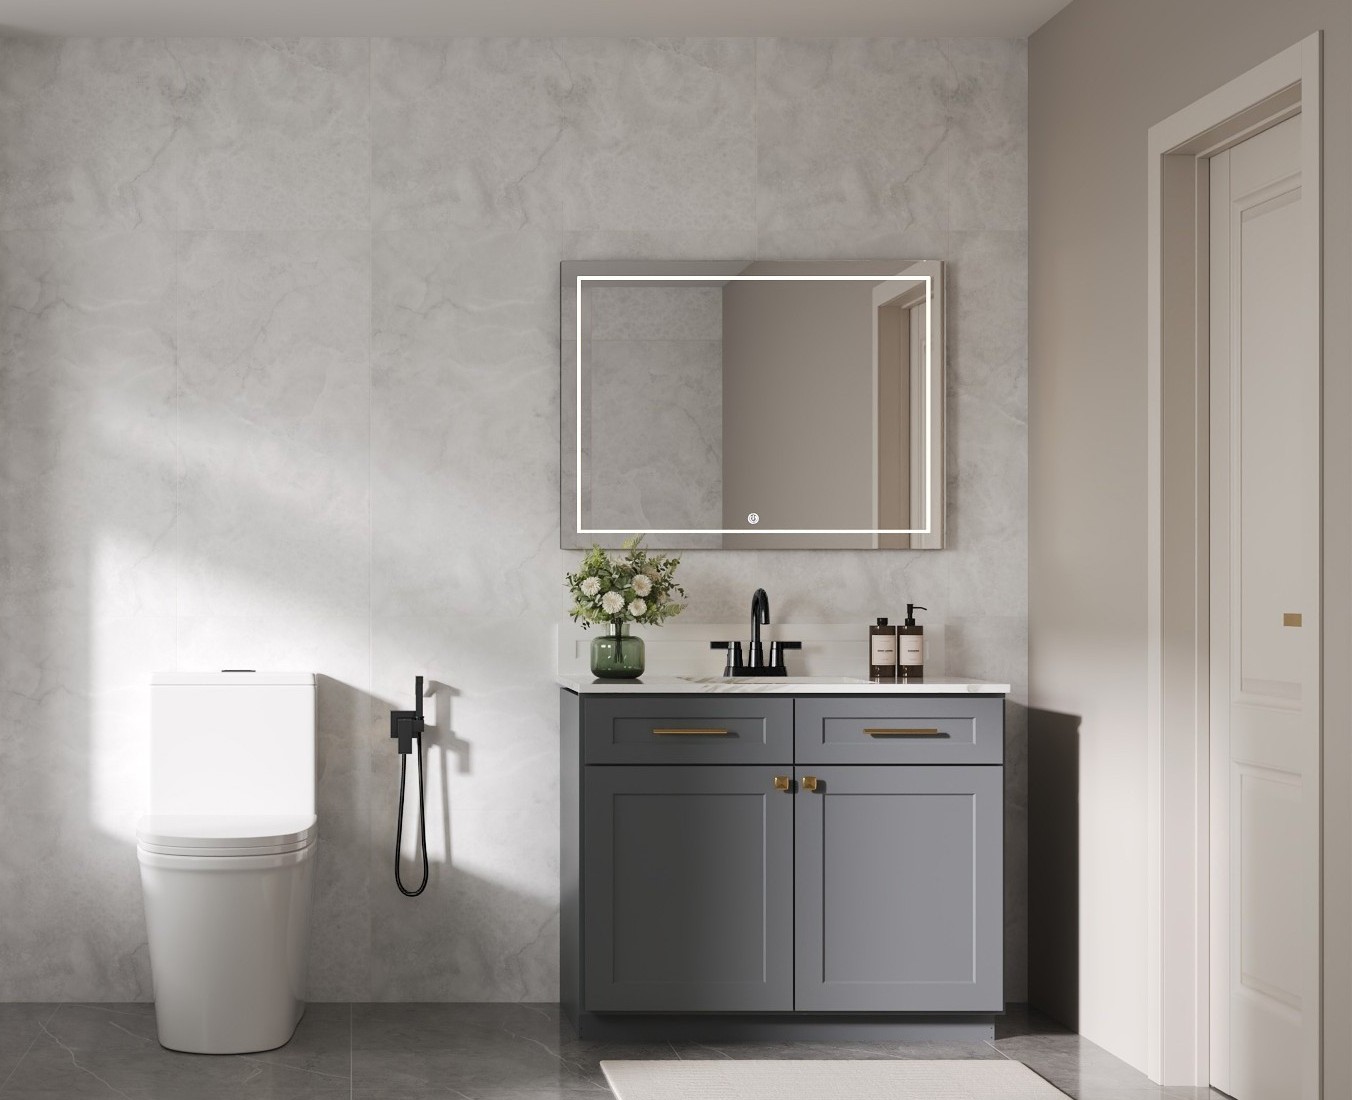
Choosing a Shower System for Your Space
Your first big decision is what kind of shower system to install. When you’re converting a half bath, every single inch counts, so smart, space-saving designs are your best friend.
- Wall-Mounted Systems: This is the go-to for a reason. They're versatile, practical, and fit almost any space. A quality system offers a clean, streamlined look with a fixed showerhead and often includes a handheld wand, which is incredibly handy.
- Ceiling-Mounted Rain Showers: If you want to add a touch of luxury, nothing beats a ceiling-mounted rain showerhead. It creates a truly immersive, spa-like experience that can make even a small shower feel expansive. Just know that the plumbing is a bit more involved.
- Handheld Shower Sets: Even if you opt for a fixed showerhead, I always recommend adding a handheld sprayer. It makes cleaning the shower stall a breeze and is a lifesaver for bathing kids or pets.
Adding a shower is more than a practical upgrade; it's a smart investment. Homeowners are increasingly focused on wellness, with many now adding features like rain showers and body sprays to their remodels. The bath remodeling market is a significant, growing industry, with a focus on accessibility features like curbless showers also on the rise.
Material Quality and Long-Term Value
The material of your fixtures has a huge impact on how long they'll last and how good they'll look down the road. It can be tempting to save a few dollars upfront, but trust me, investing in high-quality materials is one of the best decisions you can make.
Solid brass and stainless steel are the gold standard. They're built to resist corrosion and tarnish, which is absolutely essential in a damp, high-use environment like a shower. These premium materials ensure your fixtures operate smoothly for years, helping you avoid the peeling finishes and frustrating leaks common with cheaper alternatives.
Investing in cUPC-certified fixtures is non-negotiable. This certification is your assurance that the product meets stringent North American safety and performance standards—a critical factor for passing inspections and protecting your home.
Creating a Cohesive Design
A well-designed bathroom feels intentional, with every piece working together. Your new shower fixtures should feel like they belong with the sink faucet, towel bars, and other hardware. The simplest way to create this harmony is by sticking to a consistent finish, like matte black, brushed nickel, or polished chrome.
Think about the overall vibe you're going for:
| Design Style | Recommended Fixture Characteristics |
|---|---|
| Modern | Clean lines, geometric shapes, and minimalist finishes like matte black or chrome. |
| Traditional | Elegant curves, detailed handles, and classic finishes like polished brass or oil-rubbed bronze. |
| Transitional | A blend of modern and traditional, often pairing simple forms with subtle decorative details. |
Coordinating your fixtures creates a polished look that makes the whole room feel more elevated. For instance, pairing a sleek, single-handle GRANDJOY sink faucet with a matching wall-mounted shower system creates a beautiful continuity that makes a small space feel thoughtfully curated. By taking the time to select the right system and fixtures, you’re ensuring your new bathroom isn't just functional—it's a high-value, beautiful addition to your home.
Your Top Questions About Half Bath Conversions, Answered
Thinking about adding a shower to a powder room? It’s a smart upgrade, but it's natural to have a lot of questions before you start knocking down walls. Let's walk through some of the most common concerns I hear from homeowners, so you can plan your project with confidence and avoid those all-too-common renovation headaches.
How Much Space Do I Really Need for a Shower?
This is the big one, and it's usually the first thing people ask. While we all dream of a huge walk-in shower, you might be surprised at how compact a functional shower can be.
Building codes are pretty clear on the absolute minimum: the interior of a shower has to be at least 30x30 inches. But let's be honest, that's a tight squeeze. For a shower that doesn’t feel like a phone booth, I always recommend aiming for 36x36 inches if you can spare the space. It makes a world of difference.
Don't forget about the space around the fixtures, either. You need to leave at least 21 inches of clear floor space in front of the toilet and sink. It’s a code requirement, but it’s also just practical for making the room usable.
If you're working with a tiny footprint, here are a few tricks of the trade:
- Corner Showers: These are a fantastic way to capitalize on otherwise dead space.
- Neo-Angle Bases: That five-sided shape literally cuts a corner, which can be just enough to open up a crucial walkway.
- Glass Doors: A clear glass panel or door makes the whole room feel bigger and brighter, unlike a shower curtain which visually chops the space in half.
What’s a Realistic Budget for This Kind of Conversion?
The cost can swing pretty dramatically, but most projects land somewhere in the $5,000 to $15,000 range. What pushes you toward the higher end of that spectrum? A few key things.
First is labor. Good, licensed plumbers, electricians, and tile setters aren't cheap, and they’ll make up a big chunk of your budget. The other major factor is your choice of materials. A simple, prefabricated shower kit will always be more affordable than a fully custom-tiled shower with a frameless glass door. The complexity of the plumbing is another wild card—if your pro has to move drain lines or vent stacks through walls and floors, the cost will climb quickly.
It can be tempting to save a few bucks on fixtures, but this is one area where it pays to invest. High-quality, certified faucets and shower heads don't just look better; they're built to last, saving you from the headache and expense of a leak down the road.
Can I Do This Myself, or Do I Need to Hire a Pro?
My advice is usually a hybrid approach. If you're a seasoned DIYer, you can absolutely save money by handling things like demolition, hanging new drywall, painting, and installing the vanity or toilet. Those tasks are time-consuming but don't carry the same risks as the more technical jobs.
However, some things are non-negotiable and should be left to the pros. Plumbing and electrical work require a licensed expert to ensure everything is safe and up to code. And the most critical job of all? Waterproofing. I can't stress this enough. One small mistake in the waterproofing can lead to catastrophic water damage that will cost thousands to fix. It's just not worth the risk.
Do I Need a Permit to Add a Shower?
Almost certainly, yes. This isn't just a cosmetic update like painting or changing a light fixture. You're fundamentally altering your home's plumbing system and likely adding new electrical circuits. Because of that, your local municipality will want to see a permit.
Your first step should be a call to your local building department. They'll tell you exactly what's needed, walk you through the application, and explain the inspection schedule. Getting the right permits isn't just about following the rules—it ensures the work is done safely and won't cause problems when you eventually sell your home.
Ready to transform your half bath? For fixtures that perfectly blend sophisticated style with certified performance, take a look at the collections from GRANDJOY. You’ll find the ideal shower system to bring your vision to life. Visit GRANDJOY's website today and explore fixtures designed to last.


Leave a comment
This site is protected by hCaptcha and the hCaptcha Privacy Policy and Terms of Service apply.