

When it comes to keeping stainless steel faucets looking brand new, the best approach is often the simplest. Just grab a soft microfiber cloth, add a little mild soap and warm water, and gently wipe in the direction of the grain. Making this a quick daily habit is the single best thing you can do to prevent water spots and grime buildup.
More importantly, this method keeps your faucet’s natural protective layer intact—no harsh or potentially damaging chemicals required.
Why Your Faucet’s Finish Depends on Proper Care
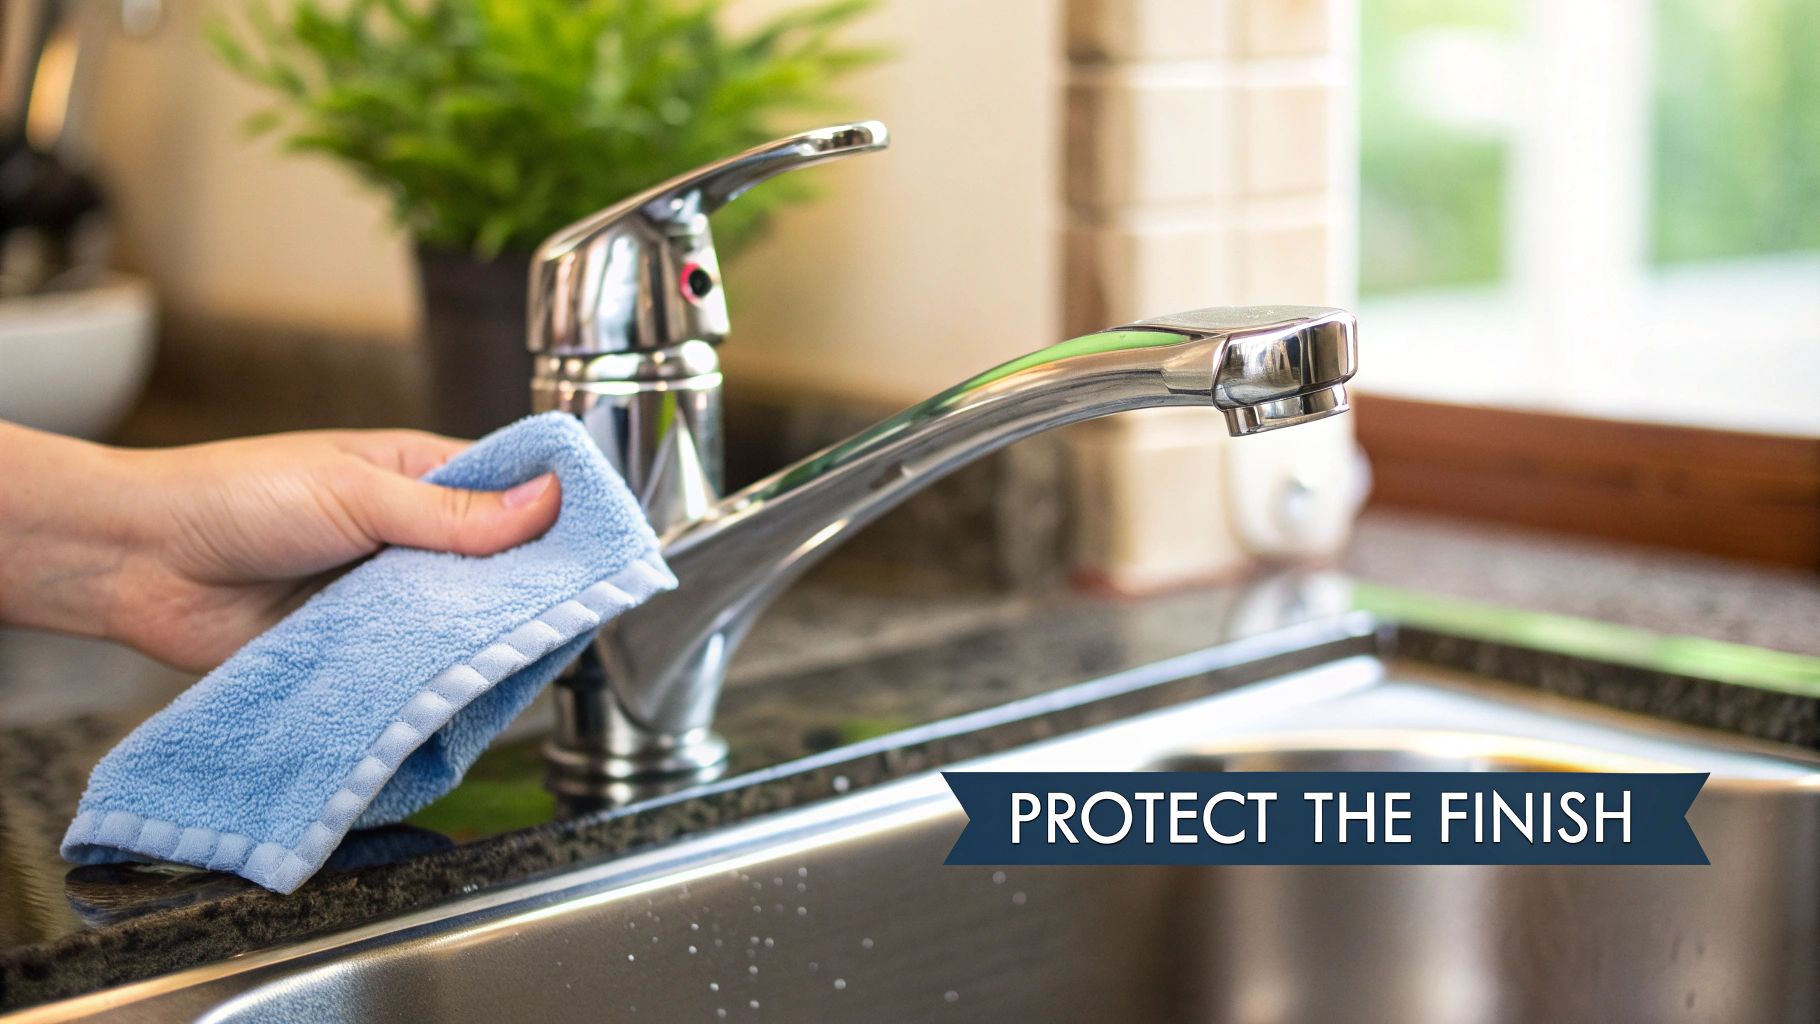
We choose stainless steel faucets for their sleek, modern look and reputation for durability. But that lasting shine depends on proper care. The key to stainless steel’s resilience is a microscopic layer called chromium oxide, an invisible passive film that shields the steel from rust and corrosion.
Here’s the catch: this protective layer is delicate. Using the wrong tools or cleaners can strip it away, leaving the steel vulnerable to damage. Abrasive sponges, scouring powders, and harsh chemicals such as bleach, ammonia, or chlorine-based products are off-limits—they can scratch or discolor the finish almost instantly.
The Foundation of Faucet Preservation
Cleaning stainless steel faucets isn’t about scrubbing hard—it’s about gentle, consistent maintenance that keeps the protective film intact. With a simple routine, your faucet will stay both beautiful and structurally sound for years.
Common problems that consistent cleaning prevents include:
-
Dullness: Caused by fine scratches from abrasive pads that ruin the reflective surface.
-
Water spots: Mineral residues from evaporation can eventually etch the finish.
-
Discoloration: Often the result of chemical reactions from acidic or alkaline cleaners.
Think of a simple care routine as an investment that preserves both style and value. Stainless steel remains popular precisely because it pairs elegance with practical, low-maintenance durability.
Building a Simple Cleaning Rhythm for Daily and Weekly Care
The secret to a always-polished faucet isn’t intense scrubbing—it’s routine care. Regular cleaning stops mineral deposits and soap scum from forming, which in turn prevents the need for stronger (and riskier) products later.
Your Go-To Cleaning Arsenal
You don’t need specialized cleaners. The best tools are gentle and inexpensive:
-
Soft microfiber cloths: Use one damp cloth for washing and another dry one for buffing.
-
Mild dish soap: A pH-neutral soap (like standard hand dishwashing liquid) removes grime without harming the finish.
-
Warm water: Helps lift grease and residue effectively.
Avoid steel wool, abrasive pads, or scouring powders—these can permanently scratch the surface.
The Daily Wipe-Down: A 60-Second Habit
After daily use:
-
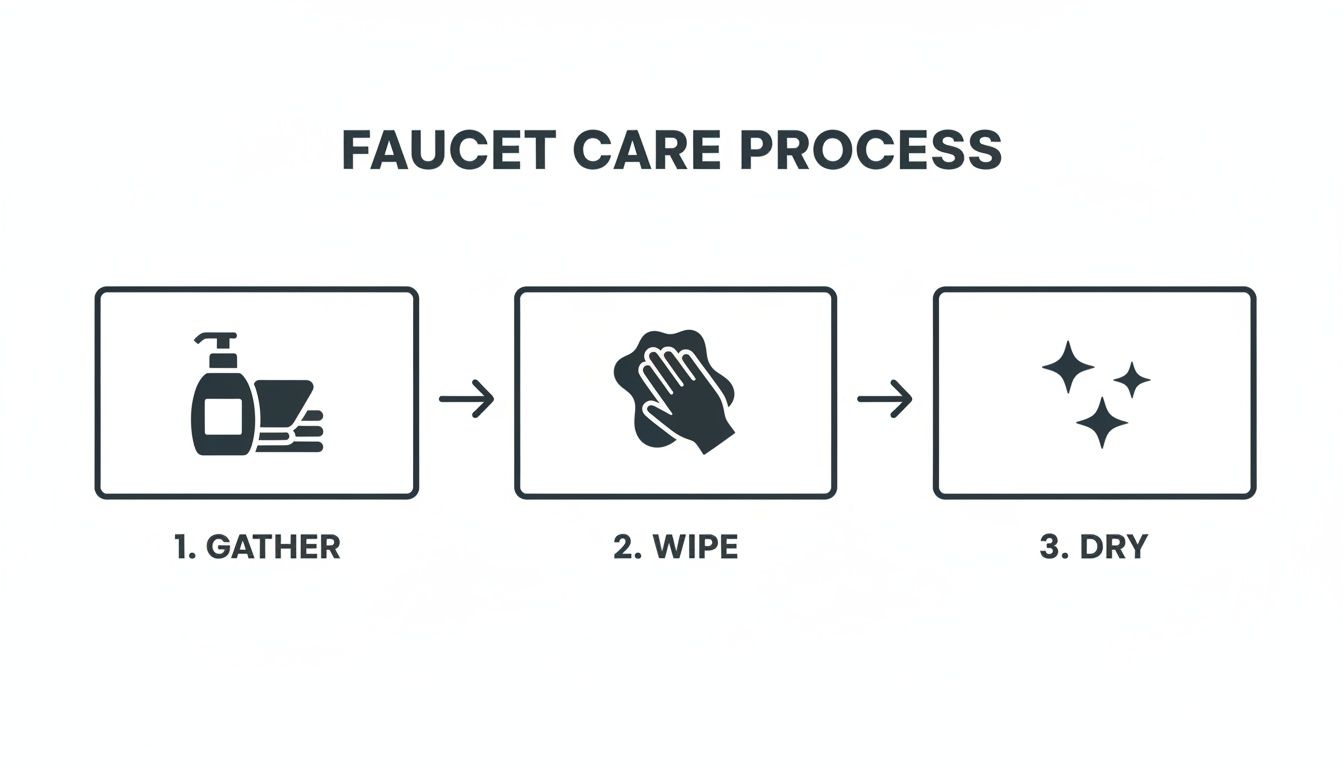
Dampen a microfiber cloth with warm water and a drop of mild soap.
-
Gently wipe the faucet, following the direction of the grain.
-
Rinse the cloth with clean water and wipe again to remove any residue.
-
Immediately dry with a second clean cloth for a spotless shine.
This quick step prevents mineral spots and protects that sleek, even finish.
The Weekly Polish-Up
Once a week, take an extra minute to clean around the faucet’s base and tight corners. These spots collect deposits that simple rinsing can miss. This habit doesn’t just keep the faucet clean—it safeguards the finish for years to come.
Dealing with Tough Hard Water Stains and Limescale
Hard water minerals—calcium and magnesium—can leave chalky white deposits that build up over time. They’re unsightly and can even affect water flow. The good news: you can remove them safely without harsh chemicals.
Mixing Up a Targeted Vinegar Solution
A mild white vinegar and water solution (1:1) works perfectly for dissolving limescale:
-
Combine equal parts white vinegar and (ideally) distilled water in a spray bottle.
-
Spray the affected areas and let it sit for several minutes.
-
Wipe gently with a soft cloth, then rinse thoroughly and dry.
This gentle solution is effective because vinegar’s acetic acid reacts with alkaline mineral deposits—without harming stainless steel’s protective film.
The Soaking Method for Serious Buildup
For heavy deposits or buildup around the spout and aerator:
-
Soak paper towels or a soft cloth in the vinegar solution.
-
Wrap them around the affected area for 15–20 minutes.
-
Gently scrub with a soft toothbrush.
-
Rinse thoroughly and dry.
Avoid prolonged soaking or leaving vinegar on surfaces for hours—it can dull certain specialty finishes (like brushed nickel coatings on mixed fixtures).
You can find more in-depth guidance from Horow’s care guide on safe stainless steel cleaning.
How to Polish for a Protective Showroom Finish
Polishing isn’t just for aesthetics—it forms a light barrier that repels water and fingerprints, much like waxing a car.

Choosing Your Polishing Agent
-
Olive oil or mineral oil: Safe, simple, and perfect for kitchen faucets.
-
Commercial stainless-steel polish: Designed to clean and protect without residue.
Avoid cooking oils like vegetable or canola oil; they can become sticky over time.
The Art of the Perfect Polish
-
Ensure the faucet is completely clean and dry.
-
Apply only a couple of drops of oil to a microfiber cloth—never directly on the faucet.
-
Wipe with the grain using long, even strokes.
-
Buff dry with a second cloth until the shine reappears.
This step creates a hydrophobic layer so water beads and rolls off instead of forming spots.
Keep Your Faucet Looking New for Years to Come
Consistent, gentle care keeps your faucet performing at its best and protects your investment.
Catch Minor Scratches Early
For light scuffs:
-
Mix baking soda with water into a soft paste.
-
Apply with a microfiber cloth, following the grain.
-
Rinse completely and dry.
Baking soda is mildly abrasive—just enough to remove superficial marks without harming the finish.
Restore Water Flow by Cleaning the Aerator
If your flow weakens, check the aerator (the screen at the spout). Unscrew it gently, soak in a 1:1 vinegar solution for 30 minutes, brush clean, rinse, and reinstall. This prevents pressure build-up and extends faucet longevity.
Watch for Early Warning Signs
A stiff handle or reduced flow usually signals internal mineral buildup near the valve cartridge. Catching and cleaning it early prevents costly damage.
For more expert tips, visit Faucet Care & Longevity on Alibaba LifeTips.
Tackling Your Faucet Cleaning Questions
How Often Should I Clean My Stainless-Steel Faucet?
Daily drying (30 seconds with a microfiber cloth) prevents water spots. Deep cleaning once a week and descaling every few weeks (in hard water areas) keeps it spotless.
Are Store-Bought Stainless Steel Cleaners Safe?
Yes—choose non-abrasive products made for stainless steel. Always test in an inconspicuous area. Avoid anything with bleach, ammonia, or chlorine.
What If I Find a Small Scratch?
Use the baking soda paste trick and rub along the grain. Deep scratches should be evaluated by the manufacturer before you attempt repair.
Why Always Wipe “With the Grain”?
Those faint lines on your faucet are the steel’s grain. Wiping with them removes grime efficiently and keeps the surface smooth and uniform. Going against them risks micro-scratches that dull the finish.
At GRANDJOY, we understand that premium fixtures are both a design statement and an investment. Proper care ensures they remain stunning and functional for years to come.
Explore our stainless steel kitchen and bath collections at GRANDJOY.


Leave a comment
This site is protected by hCaptcha and the hCaptcha Privacy Policy and Terms of Service apply.