

Ready to give your bathroom a serious upgrade? Installing a handheld bidet sprayer is one of the quickest, most rewarding DIY projects you can tackle. It's a game-changer for personal hygiene and a smart, eco-friendly move that cuts down on toilet paper waste.
This guide is designed to walk you through the entire process, from start to finish. I'll break down everything you need to know, so you can get it done right the first time, even if you’ve never touched a wrench before.
Your Guide to a Simple Bathroom Upgrade
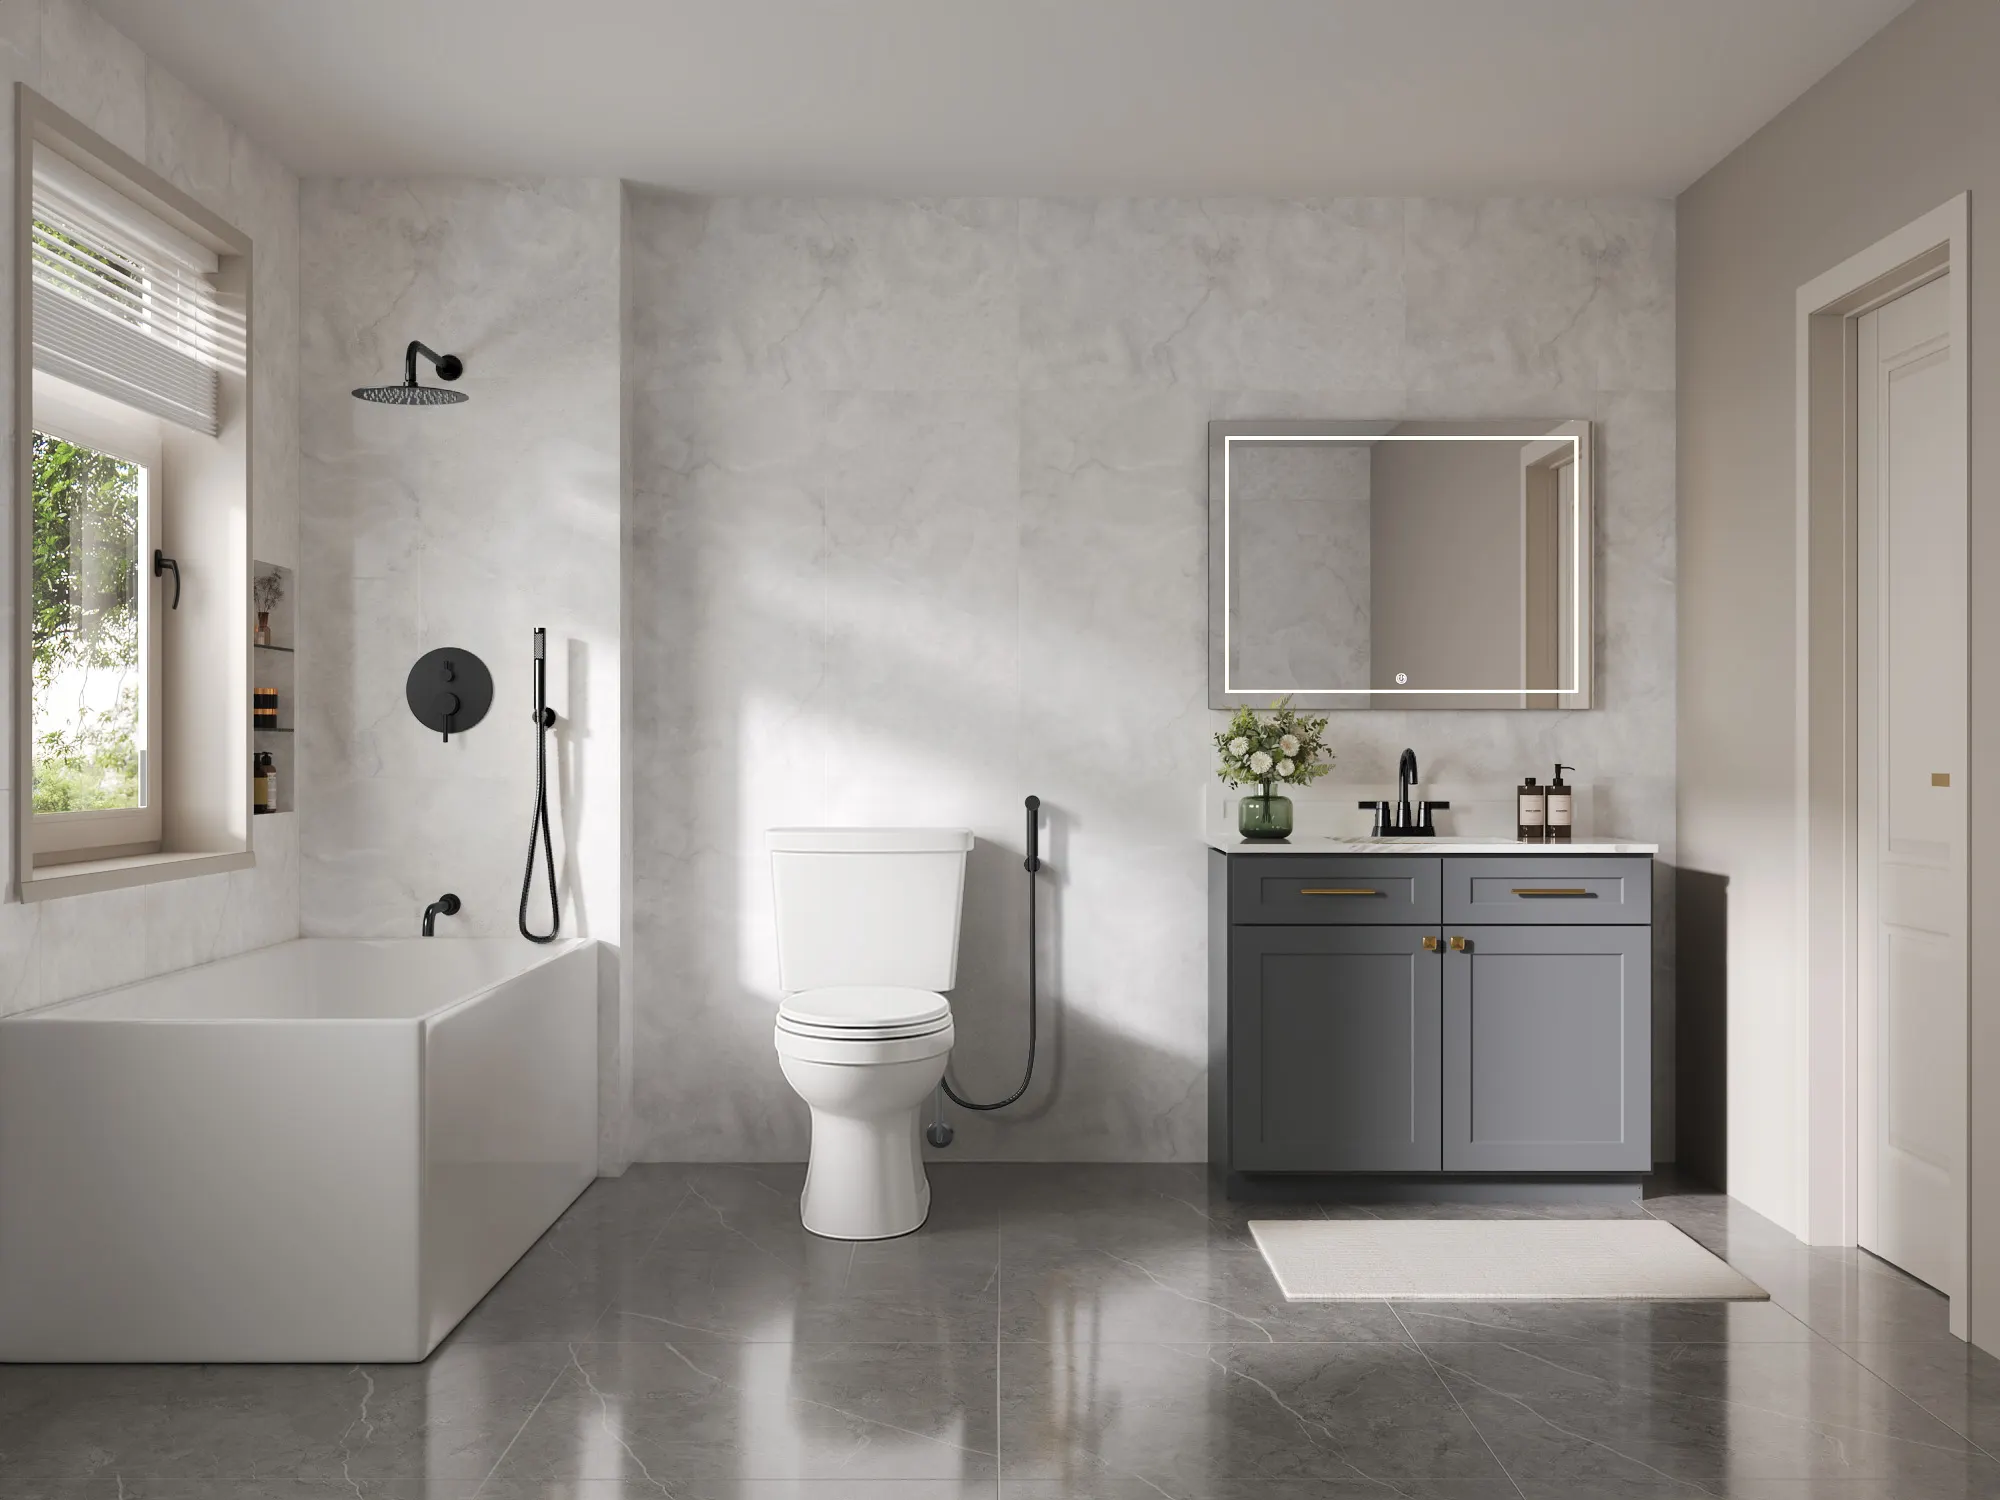
Think of this as more than just adding a new fixture. You're bringing a modern standard of cleanliness into your home. Forget the idea that this is a complex plumbing job. Most bidet sprayer installations are surprisingly simple and usually take less than an hour with basic hand tools.
We'll cover everything from turning off the water to connecting the T-valve and mounting the sprayer. By the time we're done, you'll have a leak-free setup that adds real value to your daily routine.
A Growing Trend in Modern Homes
If you've noticed more people talking about bidets, you're not imagining it. This isn't just a niche trend; it's a worldwide shift toward better hygiene and sustainability. According to a 2024 report by Grand View Research, the global bidet sprayer market was valued at approximately USD 1.87 billion, and it's not slowing down. In fact, market projections show it could more than double to an estimated USD 4.45 billion by 2033. This boom is all about people recognizing a smarter, cleaner way to live.
The bottom line is that installing a bidet sprayer isn't just about personal comfort. It’s a practical step toward a more hygienic and sustainable lifestyle, and the installation itself is refreshingly straightforward.
Bidet Installation At a Glance
Before we get our hands dirty, let's look at the big picture. I've put together a quick table to show you just how manageable this project is. It breaks down the key stages, the time you should set aside, and the skill level required.
| Stage | Key Action | Estimated Time | Skill Level |
|---|---|---|---|
| Preparation | Shutting off the water supply and gathering tools | 10 minutes | Beginner |
| Connection | Installing the T-valve and connecting hoses | 20-30 minutes | Beginner |
| Mounting | Attaching the sprayer holder to the wall or tank | 5-10 minutes | Beginner |
| Final Check | Turning the water back on and testing for leaks | 5 minutes | Beginner |
As you can see, the whole process is well within reach for just about anyone. Now, let's get into the specifics for each stage to ensure your installation is a complete success.
Gathering Your Tools for a Leak-Free Job
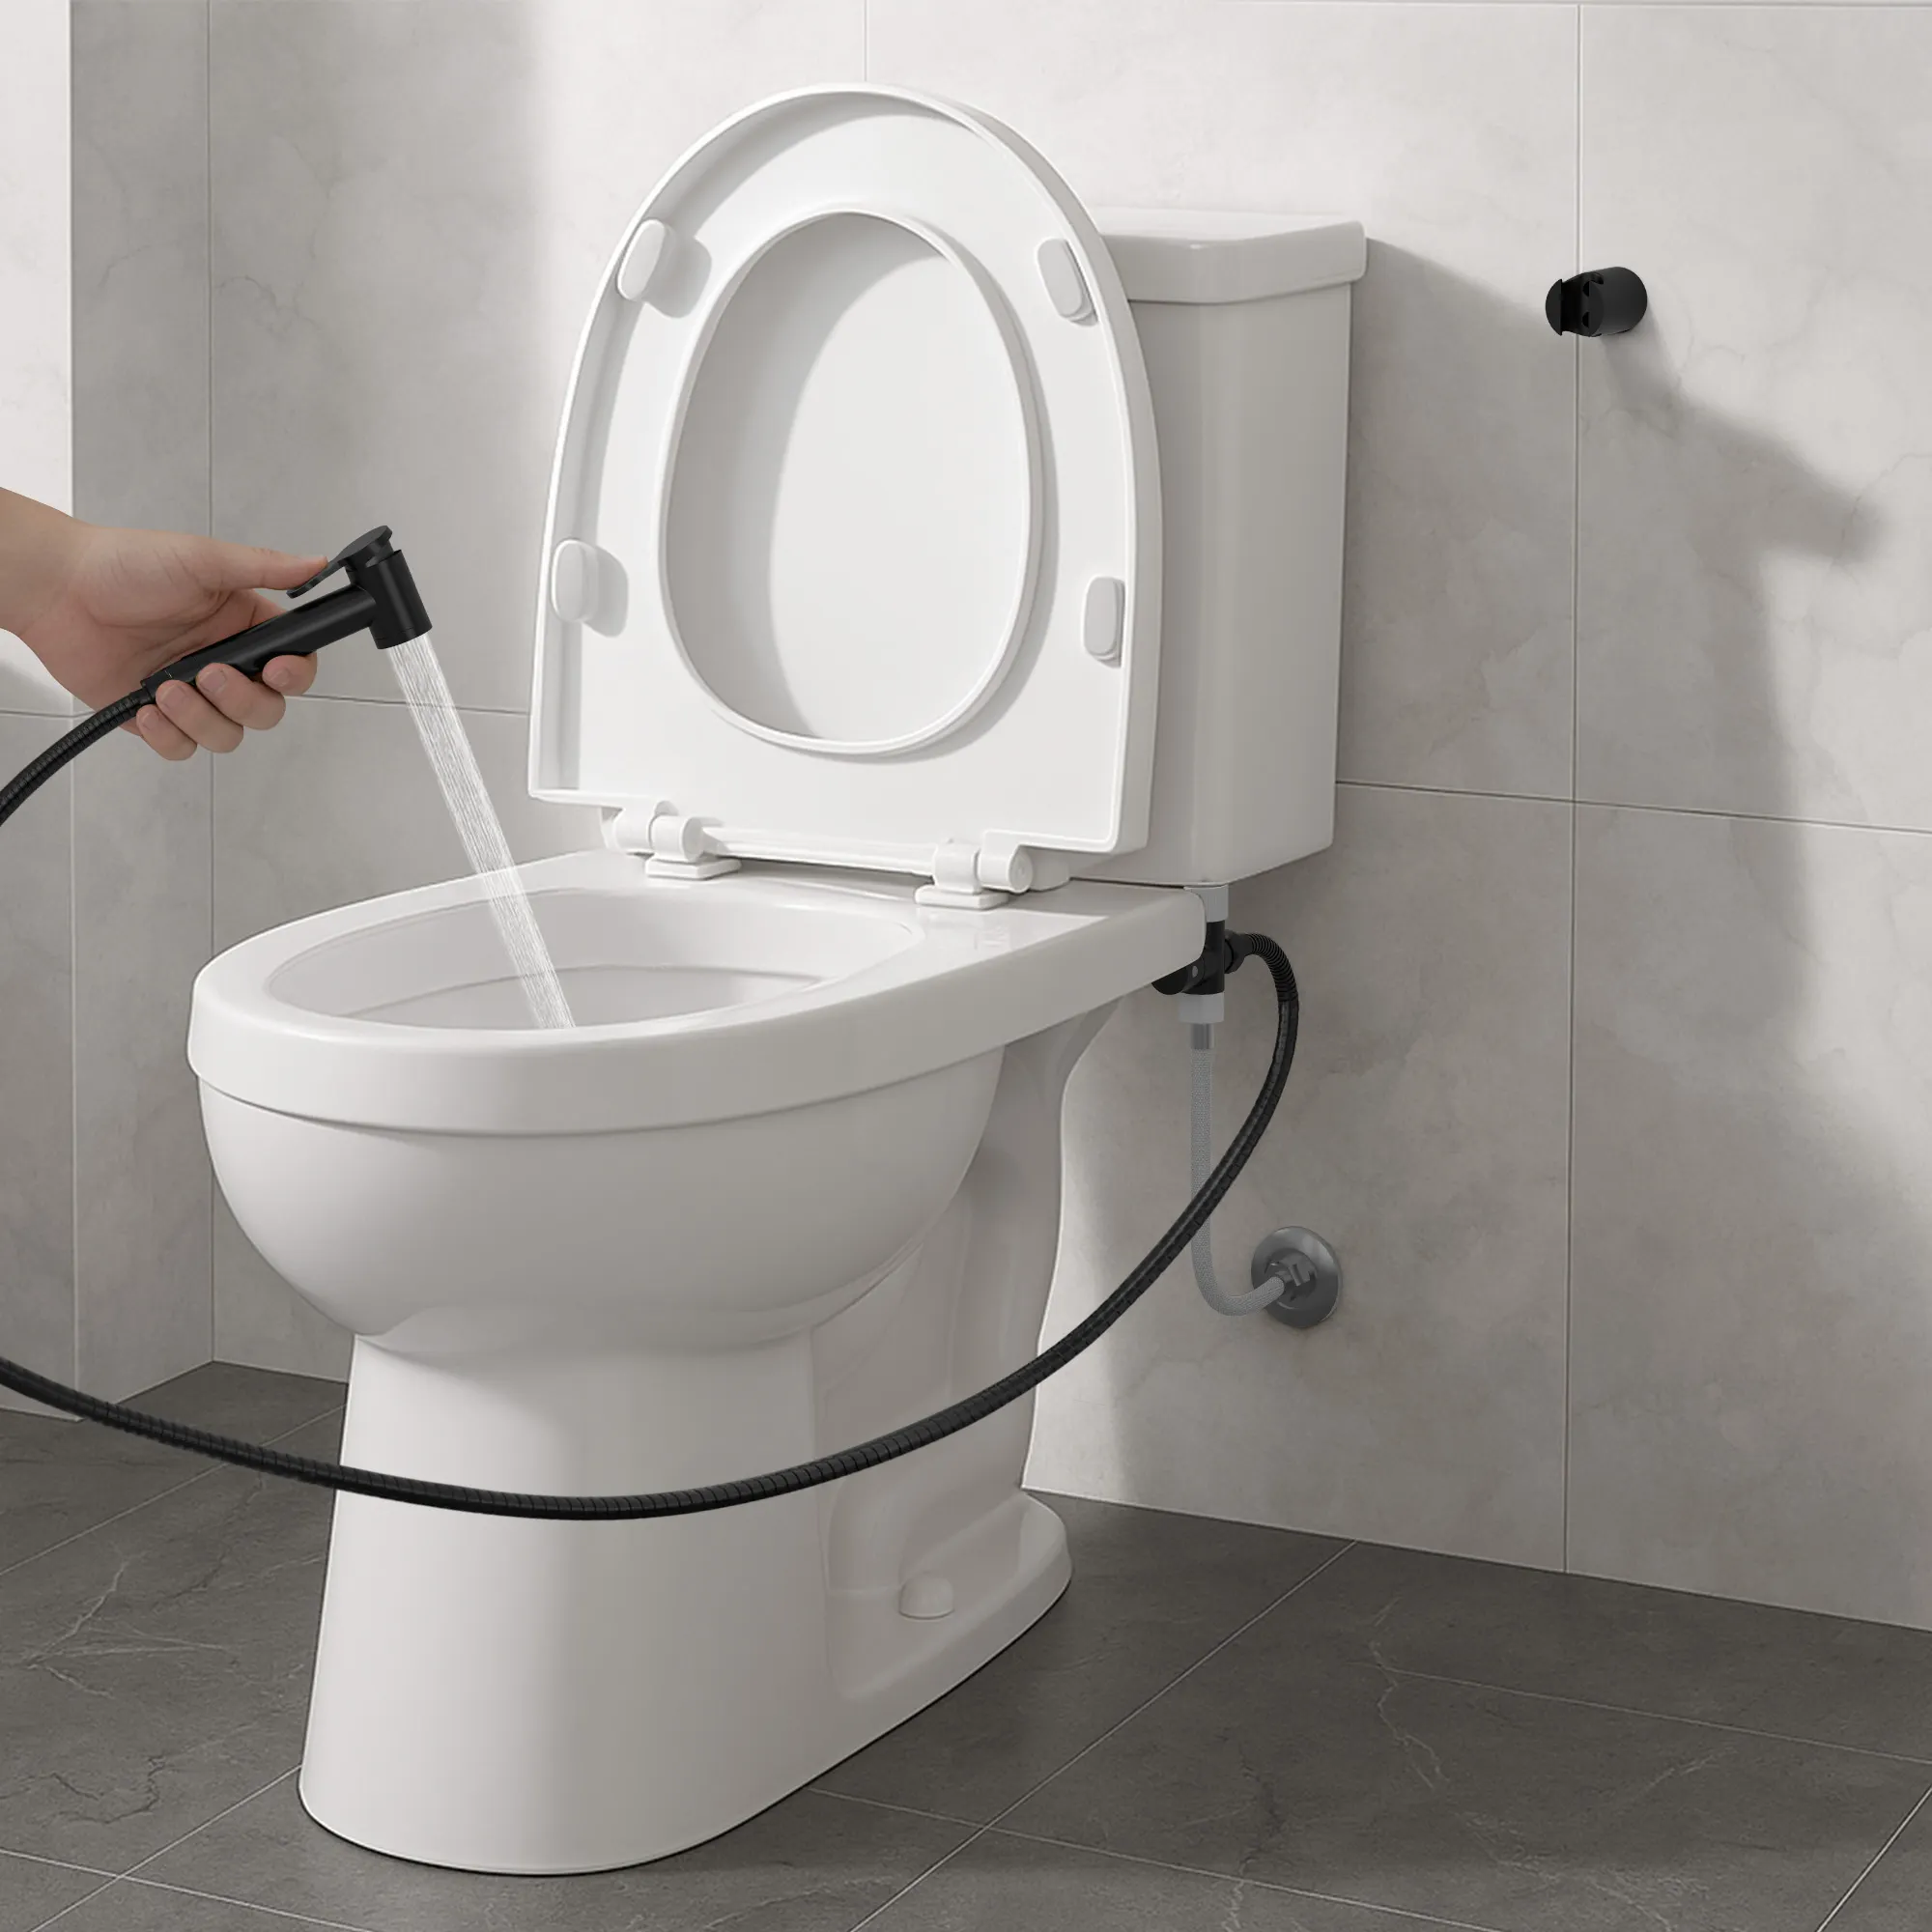
Before you even think about loosening a nut, let's talk about prep work. Taking a few minutes to gather your tools and get familiar with the parts will save you time and frustration, and it's the single best thing you can do to ensure a leak-free installation.
Think of it this way: having everything you need within arm's reach means no mid-project sprints to the garage. This one small thing can transform a potentially messy plumbing task into a quick, satisfying bathroom upgrade.
Your Essential Tool and Materials Checklist
The great news? You don't need a professional plumber’s entire truck. Most bidet sprayer installations only call for a handful of basic tools you probably already own.
Here’s the short list of what you'll want to have on hand:
- Adjustable Wrench: This is your workhorse. You'll use it to loosen the existing toilet supply line and carefully tighten the new bidet connections. A medium-sized one usually provides the right balance of leverage without being too clumsy in the tight space behind a toilet.
- Plumber's Tape (Teflon Tape): This thin white tape is the secret to a watertight seal. A few wraps around the male threads will fill any microscopic gaps and prevent those slow, sneaky drips that can cause real damage over time.
- Small Bucket or Towel: Some water is going to spill when you disconnect the supply line—it's inevitable. Having a bucket or an old towel ready to catch it keeps your bathroom floor dry and saves you a cleanup job later.
- Screwdriver (Optional): You might need a Phillips-head screwdriver, but only if your kit includes a wall-mounted holder for the sprayer. Check your kit first.
Once you have these few items laid out, you're ready to tackle this with confidence.
Understanding Your Bidet Sprayer Kit
Go ahead and unbox your GRANDJOY bidet sprayer kit. Getting a good look at each component before you start will make the whole process click into place.
You should find these key parts:
- Bidet Sprayer Head: The handheld nozzle itself, with a trigger or button to control the water flow.
- Flexible Hose: A durable, stainless steel hose that connects the sprayer head to your water supply.
- T-Valve: This is the heart of the whole setup. It's a clever three-way valve that splits the water flow, sending it to both your toilet tank and your new bidet hose.
- Mounting Bracket: This little piece holds the sprayer when you're not using it. Some hook conveniently onto the side of the toilet tank, while others are designed to be mounted on the wall.
Pro Tip: Before you grab the plumber's tape, do a quick practice run. Hand-thread the new connections together to get a feel for how they fit. This helps prevent cross-threading, which can permanently damage the parts and is a common rookie mistake.
Preparing Your Toilet for Installation
This is the final, and most critical, prep step. We need to shut off the water and drain the lines. It's the only way to prevent a bathroom flood and work without water pressure fighting you.
First, look for the angle stop—that's the small shutoff valve on the wall behind or next to your toilet. Turn the handle clockwise all the way until it stops. That's it, the water supply is now cut off.
Next, flush the toilet and keep the handle held down. This will drain almost all the water out of the tank and, more importantly, relieve any pressure left in the supply line you're about to disconnect. Now, you're ready to get started.
Connecting the Bidet Sprayer to Your Toilet
Alright, you've got your tools, and the water is shut off. Now for the main event: getting the bidet sprayer hooked into your toilet's plumbing. This part sounds more intimidating than it is, especially since most kits, like the ones from GRANDJOY, include a brilliantly simple T-valve.
This little piece of hardware is the star of the show. Think of it as a splitter; it diverts the water coming from the wall into two paths—one continues to your toilet tank, and the other goes directly to your new sprayer. Most DIY bidet installations use this exact method, so let's walk through it first.
Installing the T-Valve at the Toilet Fill Valve
The easiest and most common way to do this is by connecting the T-valve right at the bottom of your toilet tank. It's usually easy to get to and doesn't require any wild plumbing maneuvers.
First, find the flexible hose running from the wall valve (the angle stop) up to the base of your toilet tank. You'll need to unscrew the nut that connects this hose to the tank's fill valve. Keep a towel or small bucket handy, as there’s always a little bit of water left in the line that will dribble out.
With the supply line disconnected, it’s time to prep the threads on the fill valve. Grab your plumber's tape.
- Wrap Clockwise: Take the tape and wrap it around the male threads of the fill valve 3-4 times. The key here is to wrap in a clockwise direction—the same way you'll be turning the T-valve to tighten it. This simple trick keeps the tape from bunching up and ensures a perfect seal.
- Create a Seal: The tape doesn't act like glue; it's a thread sealant. It fills the microscopic gaps between the threads to create a completely watertight connection. A few good wraps of tape is your best insurance against those annoying, slow drips.
Now, take the T-valve and gently thread its top connection onto the fill valve you just prepped. Always start by hand-tightening to make sure you haven't cross-threaded it. Once it's on straight, give it a final quarter-turn with your wrench. The goal is snug, not superhuman-tight. Overtightening can easily crack the plastic fill valve or crush the rubber washer inside the T-valve, which ironically causes the very leaks you're trying to prevent.
Remember, the key to a leak-free connection is a good seal, not brute force. A firm, gentle turn is all it takes.
Connecting the Hoses
The T-valve is secure, so now you just need to hook everything back up. This is the quick, satisfying part where it all comes together.
- Reconnect the Toilet Supply Line: Take that flexible hose coming from the wall and attach it to the bottom connection of your new T-valve. This fitting usually has a built-in rubber washer, so you shouldn't need any plumber's tape here. Hand-tighten it firmly.
- Attach the Bidet Hose: Now, grab the flexible stainless steel hose that came with your bidet sprayer. Screw one end onto the side outlet of the T-valve. Again, start by hand, then give it a gentle final turn with your wrench.
- Connect the Sprayer Head: Finally, take the other end of that hose and attach it to the handheld sprayer itself. This one just needs to be hand-tightened.
And that's it—all the connections are made. Your setup should now look logical: water flows from the wall, into the T-valve, and splits off to both the toilet tank and your bidet sprayer.
Alternative Connection Methods
While connecting at the tank is the go-to method, every bathroom is a little different. Sometimes you're dealing with a super compact toilet, a rigid copper supply line, or just an awkward space. If that’s your situation, don’t worry, you have other options.
Before you start, it’s worth thinking about which connection point makes the most sense for your bathroom. Here’s a quick breakdown to help you decide.
Choosing Your Bidet Sprayer Connection Method
| Connection Method | Best For | Pros | Cons |
|---|---|---|---|
| At the Toilet Fill Valve | Most standard setups with flexible supply lines; the easiest option for DIYers. | Simple, direct, and the most common method. All parts are usually visible and accessible. | Can be a tight squeeze behind some modern, compact, or skirted toilets. |
| At the Angle Stop (Wall) | Bathrooms with rigid supply lines or extremely limited access to the toilet tank. | Moves the connection point out into a more open area, making it easier to work on. | You might need an extra adapter or a T-valve with different-sized fittings. |
| In-Line Installation | Custom plumbing configurations or for those who want a completely hidden setup. | Offers a very clean, professional look and can be integrated seamlessly. | This is a more advanced project. It often requires cutting into pipe and is best left to a professional. |
As you can see, the standard method works for most people, but knowing you have alternatives can save you a major headache if your plumbing is a little unconventional.
Connecting at the angle stop on the wall, for example, follows the same basic steps. You'd shut off the water, disconnect the supply line from the wall valve, and install the T-valve there instead. This can be a real lifesaver if the area under your tank is too cramped to get a wrench in. Just double-check that your hoses are long enough to reach their new connection points without being pulled tight or kinked.
Mounting the Sprayer and Performing the Final Check
Alright, the hard part is over. With all the plumbing connections made, you’re on the home stretch. Now it's time to find a home for your new sprayer and, most importantly, run a thorough leak check. This final phase is all about ensuring your bidet is both convenient and completely watertight.
The right placement can make or break your daily experience. You want the sprayer to be in a spot that feels natural and easy to reach, turning it from a simple fixture into a seamless part of your routine. Let’s figure out the best way to mount the holder for maximum comfort and a clean look.
Choosing the Best Spot for Your Sprayer Holder
Most bidet sprayer kits, like those from GRANDJOY, give you a couple of options for mounting the holder: a no-drill bracket that hangs on the tank or a more permanent wall mount. Each has its pros and cons, and the best choice really boils down to your bathroom's layout and personal preference.
- Toilet Tank Mount: This is easily the most popular route, and for good reason. It’s just a simple hook that hangs on the side of your toilet tank. You don’t need any tools or drills, and it won’t leave any marks on your walls. This makes it a fantastic choice for renters or anyone who wants a setup they can install and remove in seconds. Just hang it over the tank’s edge before putting the lid back on.
- Wall Mount: If you're looking for a more custom, rock-solid installation, the wall mount is your answer. This lets you place the sprayer exactly where you want it—maybe slightly in front of the toilet or just off to the side. It does require drilling, but the payoff is a secure, professional-looking finish that’s tailored to you.
Before you decide, take a moment to test it out. Sit on the toilet and pretend to grab and use the sprayer from different spots. Does one side feel more natural? Is the hose going to get tangled on anything? A little planning now will save you from awkward reaching later on.
A well-placed sprayer holder is the key to ergonomic comfort. The goal is a smooth, effortless motion—grab, use, and return—without any twisting or straining.
Installing a Wall-Mounted Holder
Decided on the wall mount? Great. A secure installation here is vital. Grab your drill, a small drill bit, and a Phillips-head screwdriver.
First, hold the bracket against the wall exactly where you want it and mark the screw holes with a pencil. Before you start drilling, do a quick sanity check. Make sure the location won't interfere with anything and that the bidet hose can reach without being stretched taut.
If you’re drilling into drywall, using the included wall anchors is non-negotiable. These little plastic sleeves expand behind the drywall, giving the screw something substantial to bite into. Drill a pilot hole just a bit smaller than the anchor, gently tap the anchor in until it's flush with the wall, and then drive in the screw to lock the bracket down. This is what keeps the mount from ripping out of the wall with repeated use.
This diagram shows the basic plumbing work that leads up to this final stage.
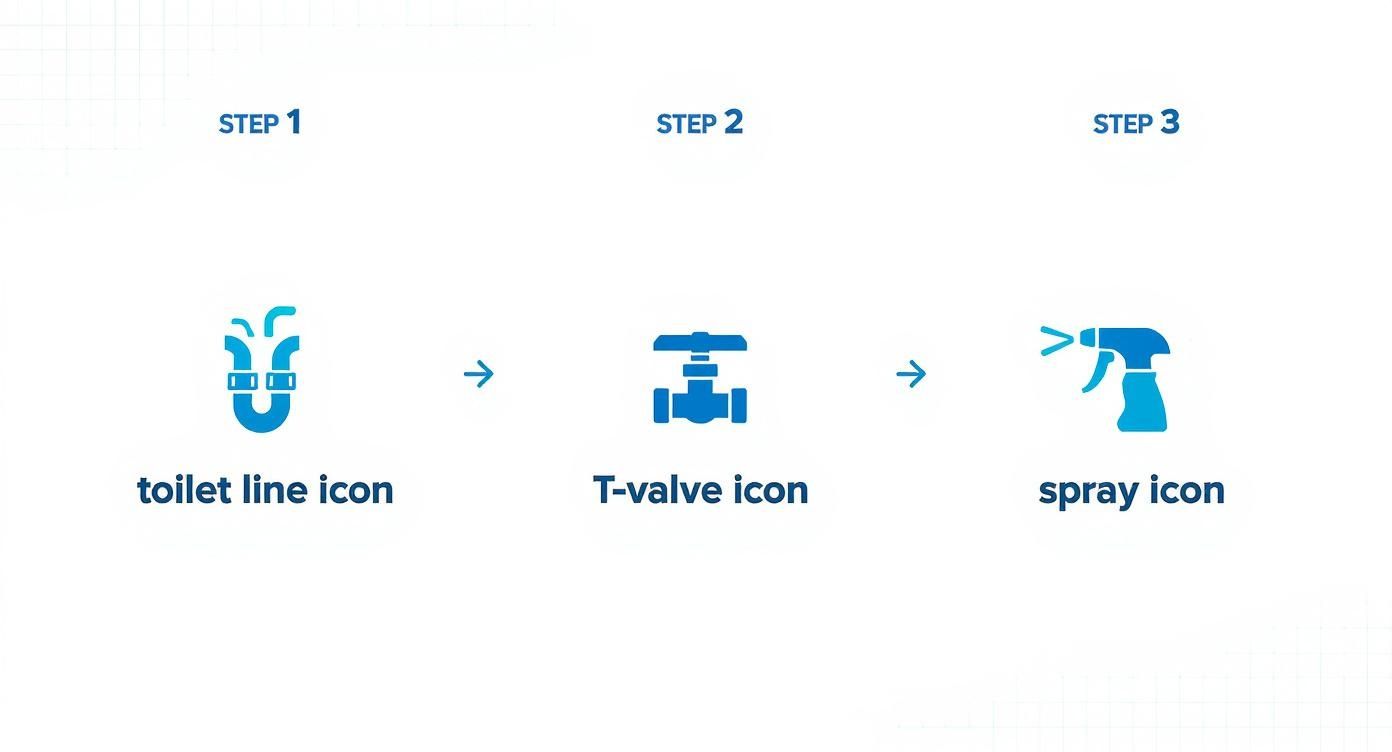
It’s a simple visual reminder of the three core steps—disconnecting the line, adding the T-valve, and connecting the sprayer—that get you ready for the crucial final inspection.
The All-Important Leak Check
With everything connected and mounted, it’s time for the moment of truth. Don't rush this part. A slow, methodical check now is what separates a successful install from a future water damage claim.
Head back to the angle stop on the wall and turn the handle counter-clockwise, but do it slowly. Just crack it open a quarter-turn to start. You should hear the water start filling the toilet tank and pressurizing the bidet hose.
Now, it’s time to play detective. Meticulously inspect every single connection you touched:
- Where the T-valve meets the toilet’s fill valve.
- Where the water supply line from the wall connects to the T-valve.
- Where the bidet hose screws onto the side of the T-valve.
- Where the bidet hose connects to the sprayer head itself.
Take a dry paper towel and press it firmly against each of these joints. The paper will show even the tiniest bead of moisture. If you spot a leak, turn the water back off immediately and give the culprit connection another quarter-turn with your wrench. Then, repeat the process.
Once you’re positive that every connection is bone dry, go ahead and open the water valve all the way. Do one last visual check. Finally, point the sprayer into the toilet bowl and give the trigger a squeeze to make sure it works as expected.
Troubleshooting Common Installation Issues
Even the most seasoned DIYer can hit a snag. When you're installing a new bidet sprayer, a tiny drip or a stubborn fitting can feel like a huge headache. But don't worry—most of these common issues are surprisingly simple to fix.
This part of the guide is your field manual for those little bumps in the road. We’ll walk through the most frequent problems and give you clear, actionable ways to get your installation finished. Think of it less as troubleshooting and more as the final step in a successful project.
Diagnosing and Fixing Leaks
A small, persistent drip is by far the most common issue you might run into. The good news? It almost always comes down to a problem with the seal, which is an easy fix.
First, you have to play detective. Pinpoint exactly where the water is coming from. Is it at the T-valve's connection to the toilet tank? The main water supply line? Or the bidet hose itself? Once you've located the culprit, shut off the water at the angle stop and give the toilet a flush to empty the tank and relieve any pressure.
- Check the Washer: The little rubber washer inside the fitting is your prime suspect. Make sure it's sitting perfectly flat and hasn't gotten pinched or twisted during tightening. A crooked washer is a guaranteed leak.
- Re-tape the Threads: Sometimes, the plumber's tape is the problem. Unscrew the leaky connection, peel off all the old tape, and re-wrap the male threads with 3-4 fresh layers. Always wrap in a clockwise direction—the same way the nut will tighten.
- Get the Tightness Just Right: There's a sweet spot for tightening. Too loose, and it will drip. But crank it down too hard, and you can crack the plastic fitting or damage the washer. A good rule of thumb is to go hand-tight, then give it one final quarter-turn with a wrench.
Think of a slow drip as a polite signal from your plumbing that a seal just needs a little adjustment. Nine times out of ten, patiently checking the washer and re-taping the threads will solve it completely.
Addressing Low Water Pressure
Is the spray from your new bidet a bit underwhelming? Before you start worrying about your home's water pressure, check a few simple things first. The cause is usually a minor blockage or a partially closed valve.
First, double-check that both the main angle stop on the wall and the shutoff lever on your new T-valve are fully open. It's easy to leave one halfway closed by accident during the installation hustle.
If that doesn't do the trick, it's time to check for debris. The sprayer head has a small screen filter inside that can catch sediment from your water lines, which is especially common in older homes. Just unscrew the head from the hose, take a look, and give it a quick rinse under the sink. That often restores the pressure instantly.
What to Do with Mismatched or Cross-Threaded Fittings
Every once in a while, you might find that the T-valve just doesn't want to thread onto your toilet's fill valve. While non-standard plumbing exists, the more likely issue is cross-threading.
If you feel serious resistance while trying to hand-tighten a connection, stop immediately. Do not force it. Back the fitting off, carefully realign it, and make sure it turns smoothly for the first couple of rotations. Forcing a cross-threaded connection will permanently damage the threads on both parts.
The demand for simple, tool-free hygiene products is huge, a trend that has pushed manufacturers to make products like the GRANDJOY sprayer fit standard plumbing perfectly. It has pushed manufacturers to make products like the GRANDJOY sprayer fit standard plumbing perfectly. If your home has truly non-standard fittings, don't panic. A quick trip to the hardware store for an adapter is usually all you need to solve the problem.
Common Questions About Bidet Sprayer Installation
Even the clearest instructions can leave you with a few lingering questions. That's perfectly normal for any home project. When it comes to installing a bidet sprayer, a handful of questions seem to pop up time and again. Getting solid answers to these can make the difference between a frustrating afternoon and a quick, successful upgrade.
Let's dive into the most common queries I hear, from whether you need to call a pro to the daily habits that will keep your new bidet working perfectly for years.
Do I Need to Hire a Plumber for This Installation?
For most people, the answer is a resounding no. These bidet sprayer kits are specifically made for DIYers. They’re designed to hook right into the standard plumbing that’s already behind your toilet. If you know how to use an adjustable wrench and can follow a few steps, you can knock this out in less than an hour.
Honestly, the whole job comes down to four simple moves:
- Shutting off the water supply at the wall valve.
- Unscrewing the toilet's existing water hose.
- Placing the new T-valve in between.
- Connecting everything back up again.
That said, there are times when calling a plumber is the smart move. If you're dealing with very old, rusty, or non-standard pipes, or if you just aren’t comfortable tackling it, don’t hesitate to get professional help. It’s always better to be safe than sorry.
Should I Turn Off the Bidet Valve After Each Use?
Yes, absolutely. If you take away only one piece of advice from this guide, let it be this. Making it a habit to shut off the T-valve after every use is the single most important thing you can do to prevent leaks.
When that valve is left open, the hose and sprayer head are holding back your home's full water pressure 24/7. Unlike the heavy-duty lines running to your toilet or faucet, these components aren't built for that kind of constant stress. Leaving them pressurized is asking for trouble down the line, risking a slow drip or even a major burst that could cause serious water damage.
Think of the T-valve as the bidet's main power switch. Turning it off is your insurance policy. It protects the sprayer's components and gives you complete peace of mind.
How Do I Fix a Leak at a Connection Point?
Seeing a drip from a new connection can be discouraging, but it's usually an easy fix. First things first: turn off the water at the wall. The leak is almost always due to a bad seal, not a faulty part.
Start by checking the little rubber washer inside the leaking connection nut. It needs to be sitting flat and even. If it’s crooked, pinched, or missing, you won't get a watertight seal.
If the washer is fine, the culprit is likely the plumber's tape. Unscrew the fitting, pull off all the old tape, and give the male threads a fresh wrap with 3-4 layers of new tape. Pro tip: always wrap the tape in the same clockwise direction you'll turn the nut. Hand-tighten it first to make sure the threads are aligned, then give it a final quarter-turn with a wrench. Don’t go crazy here—overtightening can crack the plastic fittings.
Can I Get Warm Water from My Bidet Sprayer?
A standard bidet sprayer kit connects only to the cold water line feeding your toilet tank. You should never attempt to connect one of these directly to a hot water line. The water can be hot enough to cause a serious scalding injury, and it will almost certainly damage the sprayer's internal seals and parts, which are not designed to handle high temperatures.
If warm water is a must-have, you'll need a specialized bidet system that comes with a mixing valve. These are more complex, as they require tapping into the hot water line under your sink. Given the extra plumbing work involved, installing a warm water bidet is typically a job for a professional plumber to ensure it's done safely and up to code.
Ready to elevate your bathroom with a fixture that combines elegance, hygiene, and durability? The GRANDJOY bidet sprayer is crafted from premium materials and designed for a straightforward, leak-free installation. Discover the difference quality makes and find the perfect addition to your home.


Leave a comment
This site is protected by hCaptcha and the hCaptcha Privacy Policy and Terms of Service apply.