

At its core, a timing fan light is a clever, all-in-one fixture that rolls a ceiling fan, a light, and a programmable timer into one sleek package. It gives you automated control over a room's comfort and lighting, letting you set exactly how long you want the fan or light to stay on before it shuts itself off.
Understanding the Timing Fan Light
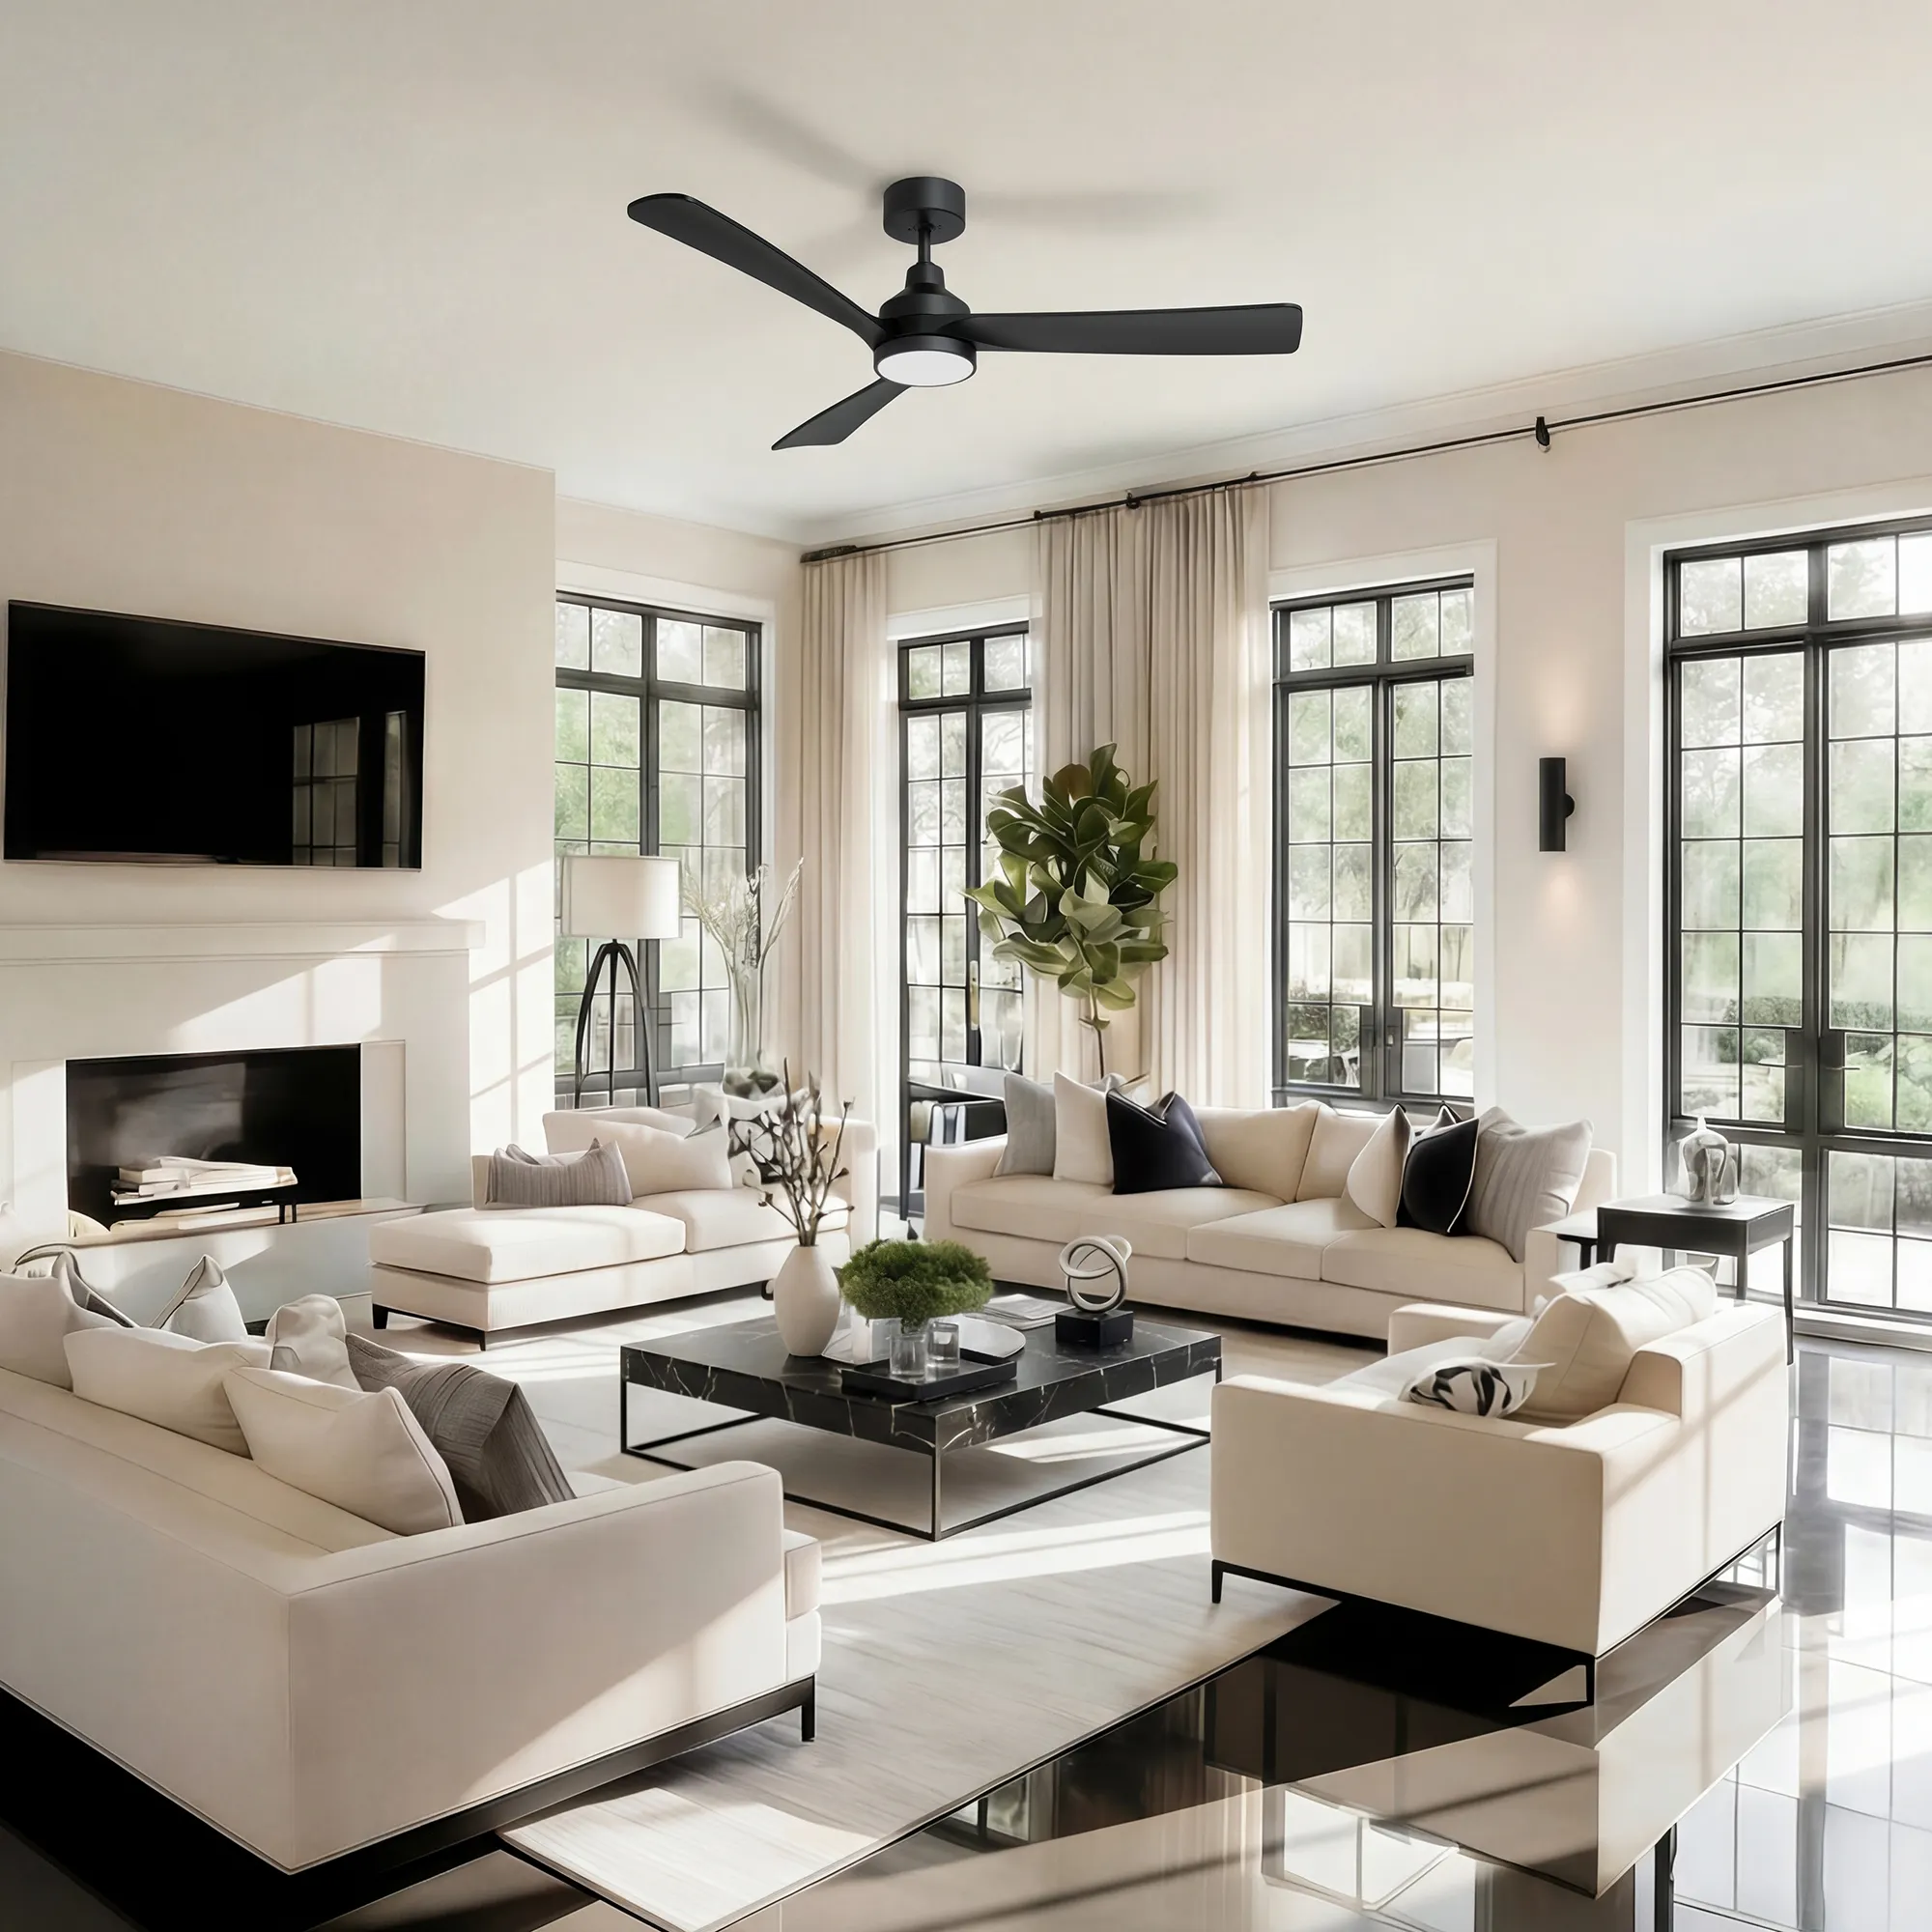
Think of it as a smart upgrade to the standard ceiling fan. It takes a simple, manually operated appliance and adds a layer of intelligent automation that makes life easier and more energy-efficient. This one small feature can make a big difference in your daily routine.
It’s like having a reliable “set-and-forget” assistant in any room. No more wondering if you left the fan on all day or having to get out of a warm bed just to switch off the light. This fixture takes care of it for you, offering both peace of mind and real savings on your utility bills.
The Core Components Working in Harmony
To really get how a timing fan light works, you just need to look at its three main parts. Each has its own job, but they’re all designed to work together perfectly on a single circuit. It’s a coordinated team effort.
The three primary components are:
- The Fan Motor: This is the workhorse, the part that spins the blades to move air around the room.
- The Light Kit: Built right into the fan's body, this provides the room's light, whether it's a basic bulb or a modern LED panel.
- The Timer Module: This is the brain of the operation. It could be a simple dial, a button on a remote, or a feature in a smartphone app that tells the fan and light when to turn off.
When you set the timer, you're giving an instruction to that timer module. The module acts like a gatekeeper for the electricity, controlling the power going to the fan and the light. It holds the gate open for the time you’ve chosen—say, 15 minutes or 2 hours—and then automatically closes it when time's up.
An Analogy for Automation
A great way to think about the timer is like setting an alarm clock, but in reverse. Instead of telling you when to start something, it tells the fan when to stop. You set the countdown, and once it hits zero, the fan or light gracefully powers down on its own.
This simple automation is the key to its value. The ability to schedule the shutdown of a fan or light prevents hours of wasted electricity from forgotten appliances, directly contributing to lower energy bills and a more efficient home.
This basic idea of an automated shutoff is what makes these fans so incredibly practical. For instance, you can let your bathroom fan run for 20 minutes after a shower to clear out the steam, knowing it won't run all day. Or, you can fall asleep with a cool breeze in the bedroom without the fan running needlessly all night long. Grasping this simple concept is the first step to understanding all the other advanced features and uses we'll get into later.
Exploring Different Types and Advanced Features
You might be surprised to learn that not all timing fan lights are created equal. They've come a long way from the simple pull-chain models, now offering a whole range of control options that can fit just about any need, budget, or comfort level with technology. Getting a handle on these differences is the best way to pick the right one for your space.
The biggest distinction between models comes down to how you actually control them. This one aspect—the control mechanism—really defines your day-to-day experience with the fan and light.
The Spectrum of Control
Let's start with the basics. The most straightforward models rely on a mechanical timer. Picture that classic, spring-loaded dial you twist on the wall. You set it for 15, 30, or 60 minutes, and it physically ticks down until it cuts the power. It's a tried-and-true method—durable, simple, and it works every time without any fuss.
A big step up in convenience comes with a dedicated remote control. This is probably the most common setup you'll find today. A small handheld remote lets you manage timers, cycle through fan speeds, and dim the lights, all from the comfort of your couch or bed. It strikes a great balance between modern features and ease of use.
At the top end, you have smart timing fan light models. These are the ones that connect to your home's Wi-Fi, which opens up a whole new world of possibilities through a smartphone app. Suddenly, a simple timer becomes a sophisticated scheduling tool that can be woven into your larger smart home setup.
Before we dive deeper into features, it's helpful to see how these control types stack up against each other. Each has its own set of strengths and is better suited for different situations.
Comparison of Timing Fan Light Control Types
| Control Type | Key Features | Pros | Best For |
|---|---|---|---|
| Mechanical Timer | Wall-mounted twist dial; spring-loaded mechanism | Extremely reliable, no batteries, simple to use, durable | Bathrooms, kids' rooms, or any space where you want a simple "set it and forget it" function. |
| Dedicated Remote | Handheld remote with buttons for timer, speed, and light | Highly convenient, offers more granular control, easy to install | Living rooms, bedrooms, and primary living spaces where on-the-fly adjustments are common. |
| Smart (App/Wi-Fi) | Controlled via a smartphone app; Wi-Fi connectivity | Fully programmable schedules, voice control, remote access from anywhere | Smart homes, tech-savvy users, and anyone wanting to automate their home's climate and lighting. |
This table gives you a quick snapshot, but the real magic is in the details. Modern fan lights are packed with features that go far beyond just turning off automatically.
Beyond the Basic Timer: Advanced Features
Today’s timing fan lights are loaded with thoughtful features that genuinely improve comfort, save energy, and give you a level of control that was once unheard of. It’s about more than just circulating air; it’s about creating the perfect environment.
Here are a few of the standout features to look for:
- Voice Control Integration: Many smart fans play nicely with voice assistants. Being able to say, "Hey Google, turn the fan on for an hour," is a small luxury that you quickly get used to.
- Dimmable LEDs with Adjustable Color Temperature: This is a game-changer. High-end models often have integrated LED lights that not only dim but also let you adjust the color warmth. You can switch from a crisp, cool white light (around 5000K) for working during the day to a soft, warm glow (around 2700K) for relaxing at night.
- Variable Fan Speeds and Reversible Motors: Most fans offer three to six speeds for precise airflow. But the real workhorse feature is a reversible motor. In summer, the blades spin counter-clockwise, pushing air down to create a cooling breeze. In winter, you flip a switch, and they spin clockwise, pulling cool air up and pushing the warm air that's pooled at the ceiling back down into the room. It’s a simple way to make your heating more efficient.
The demand for these all-in-one fixtures isn't just a niche trend; it's exploding. As more of us look for integrated, efficient ways to manage our homes, the ceiling fan has evolved to meet that need.
This isn't just a feeling; the market numbers back it up. According to a 2024 report by Grand View Research, the global market for ceiling fans with lights was valued at approximately USD 2.78 billion in 2023 and is projected to grow to around USD 5.92 billion by 2031. This growth is a clear signal that features like built-in timers are becoming what people expect, not just a nice-to-have.
As technology marches on, the humble ceiling fan is quietly becoming a central hub for controlling a room's comfort and ambiance. That makes a good timing fan light a genuinely smart investment for any modern home.
An Overview of Installation and Wiring
Putting in a new timing fan light is a job most confident DIYers can handle, but you have to treat the electrical work with respect. Think of this as your high-level game plan—it will walk you through the core steps so you know what to expect. Just remember, this guide doesn't replace the specific instructions that came in the box with your fan.
The first step is always the most important: turn off the power. Head to your circuit breaker, find the one for the room you're working in, and flip it completely off. Don't just take its word for it, either. Grab a voltage tester and double-check that there's no power at the switch or the ceiling box before you even think about touching a wire.
The Foundational Steps of Assembly
With the power confirmed off, you can get to the hands-on part. Most ceiling fan installations follow a pretty similar script, and it usually starts on the floor, not on the ladder.
You'll get a head start by assembling the fan's main body first. This means attaching the blades to their brackets and then screwing those brackets onto the motor housing. After that, you'll get the downrod ready—that's the pipe connecting the fan to the ceiling—and patiently thread the fan's wires through it.
Safety First: Before you go any further, make absolutely sure the electrical box in your ceiling is fan-rated. A regular box for a simple light fixture isn't built to handle the weight and vibration of a fan. You need a metal box that’s secured directly into a ceiling joist.
Doing all this pre-assembly on the ground makes life a whole lot easier when you're up on a ladder.
Mounting and Securely Attaching the Bracket
Once the fan is mostly put together, it's time to look up. The mounting bracket is the unsung hero of this whole operation; it's what carries the entire load of your new fixture.
This bracket gets screwed directly into that fan-rated ceiling box. Use the screws that came with your fan and make sure they are tight—this is your best defense against a wobbly fan down the road. With the bracket secure, you can carefully lift the fan assembly and hang it on the hook or slot on the bracket. This frees up your hands for the most critical step: wiring.
Modern fan controls have come a long way, moving from simple timers to sophisticated smart features.
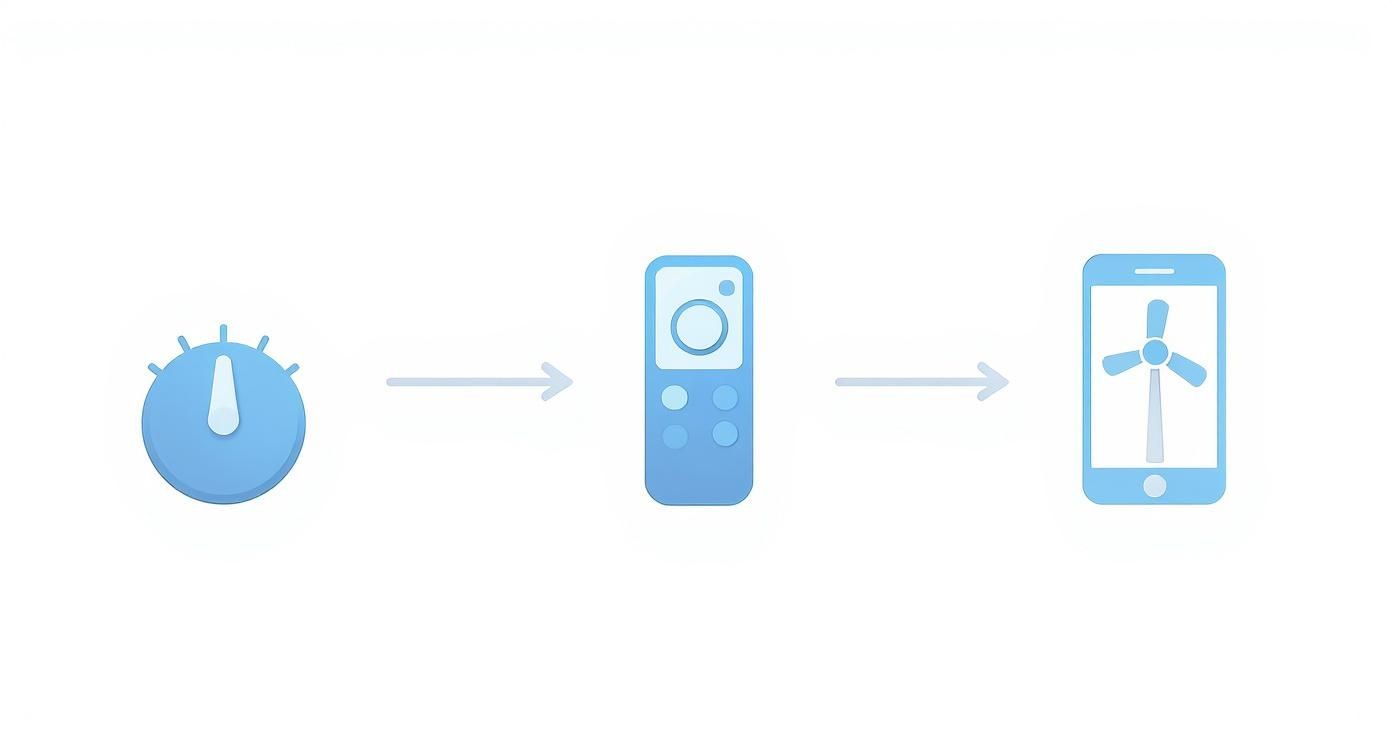
This evolution makes features like timers far more convenient, especially with the rise of app-based controls in today's smart homes.
Demystifying the Wiring Connections
Wiring can feel like the most intimidating part of the job, but it's really just a matter of matching things up. In a typical setup, you're simply connecting the wires from your ceiling to the fan's remote receiver or timer module.
Let’s break down the cast of characters:
- Black Wire (Hot): This is the live wire bringing power from your breaker panel.
- White Wire (Neutral): This wire completes the circuit, sending the current back.
- Green or Bare Copper Wire (Ground): Your crucial safety wire. If there's a fault, it gives the electricity a safe path to travel, preventing shock.
You'll connect the matching colors from the ceiling to the "input" side of the receiver. Then, you’ll connect the wires on the "output" side to their corresponding wires for the fan motor and the light. Use the wire nuts included in the kit to make your connections. Twist them on until they're snug and you can't see any bare copper.
Once everything is connected, gently tuck the wires up into the electrical box, slide the canopy cover into place, and go flip the breaker back on to test out your new fan.
Installing Fan Lights in Bathrooms Safely
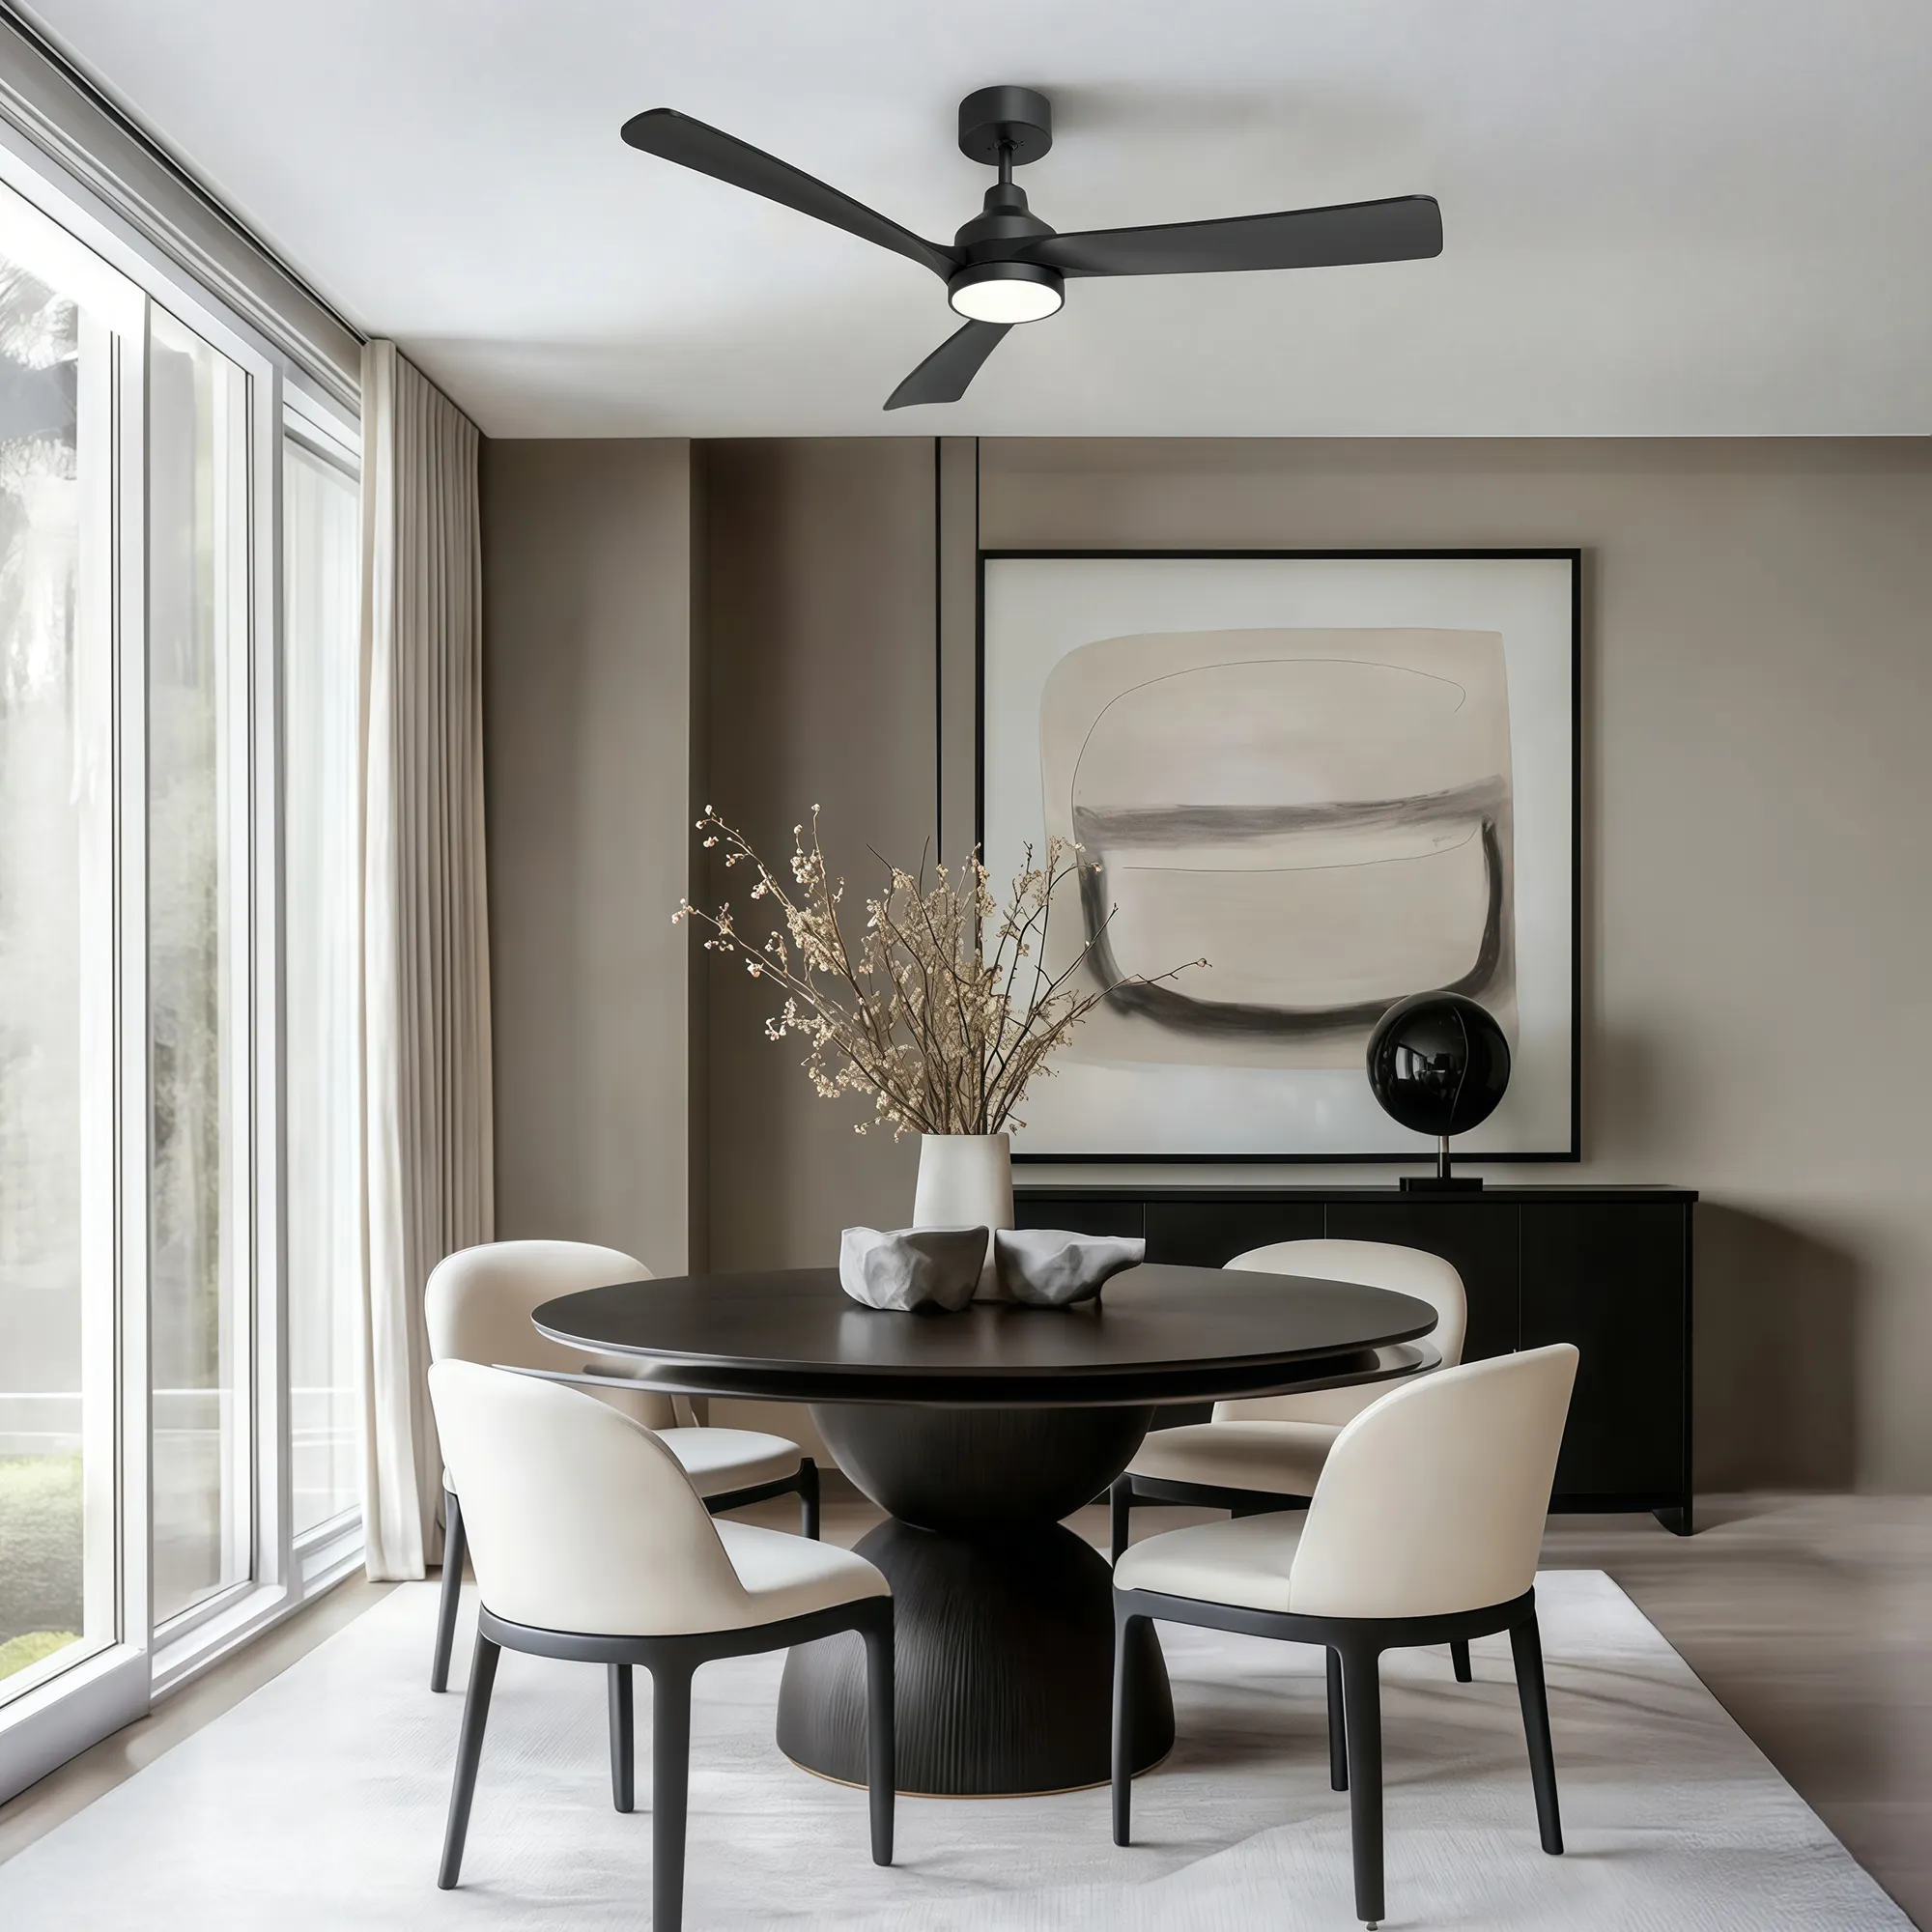
Putting any electrical fixture in a bathroom is a whole different ballgame. With all that steam and moisture, you have to be extra careful to prevent some serious electrical hazards. For a timing fan light, this means paying close attention to safety codes long before you even think about installation.
Your first step? Always check the fixture’s safety certifications and location rating. Look for a mark from a recognized lab like Underwriters Laboratories (UL) or Intertek (ETL). This little sticker is your assurance that the product has been through the wringer and passed tough safety tests, confirming it can handle the environment it’s designed for.
Understanding Damp and Wet Location Ratings
When it comes to bathrooms, you need a fan light specifically rated for either "damp" or "wet" locations. These terms aren't just suggestions—they signify different levels of moisture protection, and getting it right is crucial for a safe, code-compliant installation.
A damp-rated fixture is built to handle condensation and humidity. It's the right choice for most bathroom applications, as long as it’s not getting directly splashed by the shower or tub.
On the other hand, a wet-rated fixture is sealed up tight. It's designed to take a direct hit from water, like rain or spray from a showerhead. You'd need this heavy-duty protection if you were installing the fan light inside a large, open shower enclosure.
Make no mistake, using a standard indoor-only fan in a bathroom is asking for trouble. Steam and humidity can cause it to short-circuit or corrode in no time, creating a real risk of electrical fire or shock.
The core principle of bathroom electrical safety is creating separation between electricity and water. Location ratings, GFCI protection, and designated zones all work together to maintain this critical barrier, ensuring the fixtures you install operate safely for years to come.
Bathroom Zones and Safe Placement
To keep things simple and safe, electrical codes map out specific "zones" in a bathroom. These zones tell you exactly where you can—and can't—install fixtures based on how close they are to water sources.
- Zone 0: Think of this as the "no-go" zone—it's the area inside the bathtub or shower. You can't install a ceiling fan here, period.
- Zone 1: This is the space directly above the tub or shower, extending up to a height of 7.4 feet (2.25 meters). Any fan light here absolutely must be wet-rated and connected to a GFCI circuit.
- Zone 2: This area covers a 2-foot (0.6-meter) perimeter around the tub or shower, up to the same height as Zone 1. A damp-rated fan is usually fine here, but GFCI protection is still required.
- Outside Zones: This is everywhere else in the bathroom. For these spots, which is where most fans are installed, a standard damp-rated fan light is the perfect fit.
The Non-Negotiable: GFCI Protection
No matter which zone your fan is in, modern electrical codes are clear: any circuit in a bathroom must be protected by a Ground Fault Circuit Interrupter (GFCI). This isn't just a good idea; it's a critical safety device.
A GFCI acts like a super-sensitive watchdog for your electrical circuit. If it senses even the tiniest imbalance—like electricity taking a shortcut to the ground through water (or a person)—it instantly cuts the power. Connecting your fan light to a GFCI-protected circuit is a fundamental requirement for any bathroom, giving you the best possible defense against electrical shock.
Troubleshooting and Maintenance Tips
Even the best-installed timing fan light can act up now and then. Like any appliance that works hard for you, occasional hiccups are just part of the deal. The good news is that most common problems are pretty straightforward to fix, so you can get your fan back to running perfectly without a major headache.
The key to troubleshooting is to think like a detective and start with the simplest clues first. Before you even think about grabbing a ladder or messing with wiring, check the easy stuff. This simple habit can save you a ton of time and frustration.
Solving Common Glitches
Let's walk through the usual suspects when your timing fan light decides to misbehave, along with a step-by-step process to figure out what's wrong and fix it.
1. The Fan or Light Won't Turn On at All This one can feel like a big deal, but it’s often the easiest problem to solve.
- Start with the basics: Is the wall switch flipped on? Did you try the pull chains? It sounds almost too simple, but you'd be surprised how often this is the culprit.
- Check the remote: If your fan has a remote, the batteries are the first thing to check. Weak batteries might not have enough juice to send a clear signal to the fan's receiver.
- Trip to the breaker box: Head over to your electrical panel. Find the breaker for that room and see if it has tripped to the middle or "off" position. If it has, just give it a firm flip back to "on."
2. The Timer Is on the Fritz What if the fan and light work fine, but the timer function is a no-go? This tells you the issue is somewhere in the control system.
- Try a quick reset: The classic "turn it off and on again" works for fans, too. Go to your circuit breaker, switch off the power to the fan for a minute or so, and then turn it back on. This can reboot the internal electronics in the timer or remote receiver and clear up the glitch.
- Consult the manual: It might be worth a quick look at the user manual. Different models have slightly different ways of setting the timer, and you might just be missing a step.
3. The Fan is Wobbling or Making a Racket A wobbly fan isn't just annoying—it’s a sign of an imbalance that puts extra stress on the motor and the mounting hardware.
- Tighten everything up: Nine times out of ten, a wobble is caused by loose screws. Turn off the power at the breaker for safety, get on a sturdy ladder, and methodically tighten every screw you can find: on the fan blades, the brackets holding the blades, and where the downrod connects to the motor and the ceiling mount.
- Balance the blades: If a good tightening doesn't fix it, it’s time for the balancing kit that probably came with your fan. It’s a simple process of attaching small weights to the top of the blades to even things out and get it spinning smoothly and silently again.
Think of a little maintenance as an investment. Keeping your timing fan light in top shape ensures it stays a reliable and efficient part of your home, preventing small annoyances from turning into big problems down the road.
A Quick Maintenance Checklist
A little preventative care goes a surprisingly long way. Just run through this simple checklist once or twice a year to keep your fixture humming along.
- Dust the Blades: A layer of dust can throw the blades out of balance and make the fan less effective. A quick wipe with a soft cloth or duster is all it takes.
- Inspect and Tighten: Vibration naturally loosens screws over time. A quick check-and-tighten session is the best way to stop wobbles before they start.
- Test All Functions: Every so often, cycle through all the fan speeds, dim the lights, and test the timer settings to make sure everything is still working as it should.
This kind of proactive care is smart, especially as these types of fixtures become more popular. The entire electric fan market is growing, largely because people want more energy-efficient options. Features like timers are a major driver of this growth.
How to Choose the Right Fan for Your Space
Picking out the perfect timing fan light goes way beyond just finding a style you like. To get it right, you need to match the fan's size, its lighting, and its features to what your room actually needs. A little forethought here will save you headaches later and ensure you end up with a fixture that’s not just beautiful, but genuinely useful.
It all starts with the most basic job of a fan: moving air. A fan that’s too small for a big room will just spin its heart out without making a dent. On the flip side, an oversized fan in a tiny room will feel like you’re in a wind tunnel. The sweet spot is a fan that creates a comfortable, efficient breeze.
Sizing Up Your Room for Optimal Airflow
First things first, you need to measure your room's square footage. This simple number is your North Star for choosing the right fan blade diameter, which is the key to getting that effortless air circulation we’re after.
Here’s a quick and dirty guide to get you in the right ballpark:
- Small Rooms (up to 75 sq. ft.): A 29–36 inch blade span is perfect. Think home offices, laundry rooms, or walk-in closets.
- Medium Rooms (76–144 sq. ft.): Go for a 36–44 inch blade span. This size is usually just right for standard bedrooms or smaller kitchens.
- Standard Rooms (145–225 sq. ft.): The most common size, 44–52 inches, works great in living rooms, primary bedrooms, and dining areas.
- Large Rooms (226–400 sq. ft.): For great rooms or open-concept spaces, you’ll need a bigger fan with a 52–60 inch blade span to move enough air.
Next, look up. Your ceiling height is just as important. For standard 8-foot ceilings, a "hugger" or flush-mount fan that sits right against the ceiling is your best bet. But if your ceilings are taller than 8 feet, you’ll need a downrod to bring the fan down to the sweet spot—about 8 to 9 feet off the floor—where it can do its best work.
Matching Lighting and Style to Your Decor
Once you’ve nailed down the size, it’s time to think about the light. The built-in light fixture should be more than an afterthought; it needs to complement the room's existing light or even act as its main source. Ask yourself what you need it to do. Is this for bright, focused task lighting, or are you after a soft, ambient glow for relaxing?
Keep an eye on these key lighting specs:
- Lumens (Brightness): This is simply a measure of how bright the light is. A small bathroom might only need around 800 lumens, while a living room could easily call for 1,500–3,000 lumens or more.
- Kelvin (Color Temperature): This number tells you how warm or cool the light will feel. If you want a cozy, inviting glow, look for something around 2700K. For a crisp, clean light that feels like daylight, aim for 5000K.
- Dimmability: For rooms that pull double duty, dimmability is a must. It lets you go from bright and functional to low and atmospheric with the push of a button.
Of course, the fan has to look good, too. The finish—whether it's brushed nickel, matte black, or aged bronze—should feel like it belongs in the room. Whether your home is modern, traditional, or has an industrial vibe, pick a fan that looks like it was always meant to be there.
Selecting the Right Timer for Your Needs
Finally, let’s talk about the feature that gives this fan its name: the timer. The kind of control you need really comes down to how you use the room. For a bathroom fan, a simple mechanical wall timer you can set for 30 or 60 minutes is often all you need to clear out the steam after a shower.
In a bedroom or living room, a remote control with several preset timer options gives you a lot more flexibility. And if you're building a smart home, a fan with app-based scheduling is the ultimate in convenience, letting you bake it right into your daily routines. It's no surprise that consumers are leaning into these multifunctional fixtures. According to a 2024 report by Market Research Future, the global ceiling fan market was valued at approximately USD 10.8 billion in 2023 and is projected to grow to around USD 15.9 billion by 2032.
By taking the time to think through each of these pieces, you can confidently choose a fixture that’s a perfect fit for your space.
Frequently Asked Questions
When you start digging into the specifics of timing fan lights for a project, a few common questions always seem to pop up. Let's tackle them one by one so you can move forward with your project confidently.
Can I Add a Timer to My Existing Ceiling Fan?
Absolutely. For most ceiling fans, adding a timer is a pretty straightforward upgrade. The simplest way is to swap out your standard wall switch for a new timer switch designed for the job. Just make sure the one you pick is rated for both a fan motor and a light—they handle different electrical loads, and getting this wrong can cause problems.
What if your fan uses a remote? No problem. Look for a universal remote control kit. These usually include a new receiver you’ll install in the fan's canopy and a new remote that has the timer function built right in. If you're ever unsure about the wiring, it's always smart to call in a licensed electrician.
How Exactly Do Timers Save Energy?
It’s simple: timers cut out the waste. They stop fans and lights from running when nobody is using them. Think about the bathroom exhaust fan—it’s crucial for clearing out steam after a shower, but it's also one of the most common things people forget to turn off.
A timing fan light gives you surgical control over your energy use. By setting the fan to run for just 20 minutes post-shower, you prevent it from running for hours by mistake. That small change shows up as real savings on your electricity bill, without you losing any of the benefits.
The same logic works anywhere. You can set your bedroom fan to help you fall asleep and then have it turn off automatically in the middle of the night. It's a small feature that delivers real, measurable energy savings over the long haul.
What Is the Difference Between Damp-Rated and Wet-Rated?
This is a big one, and getting it right is all about safety. These ratings tell you how much moisture a fan can handle, and they are definitely not the same thing.
A damp-rated fan is built to handle humidity and condensation. It's the perfect choice for a bathroom (as long as it's not directly in the shower) or a screened-in porch. It can take the moisture in the air, but not a direct splash of water.
A wet-rated fan is the next level up. Its internal components are completely sealed, allowing it to withstand direct exposure to rain or water spray. This is the only type of fan you should install in an open-air space like a pergola or even inside a large shower stall where it’s going to get wet.
At GreenEver, we believe great design should work for you. Our collections are built to blend sophisticated style with the smart functionality your home deserves. Find the perfect fixture for your space by exploring our collections at GreenEver Ceiling Fan with Light.


Leave a comment
This site is protected by hCaptcha and the hCaptcha Privacy Policy and Terms of Service apply.